
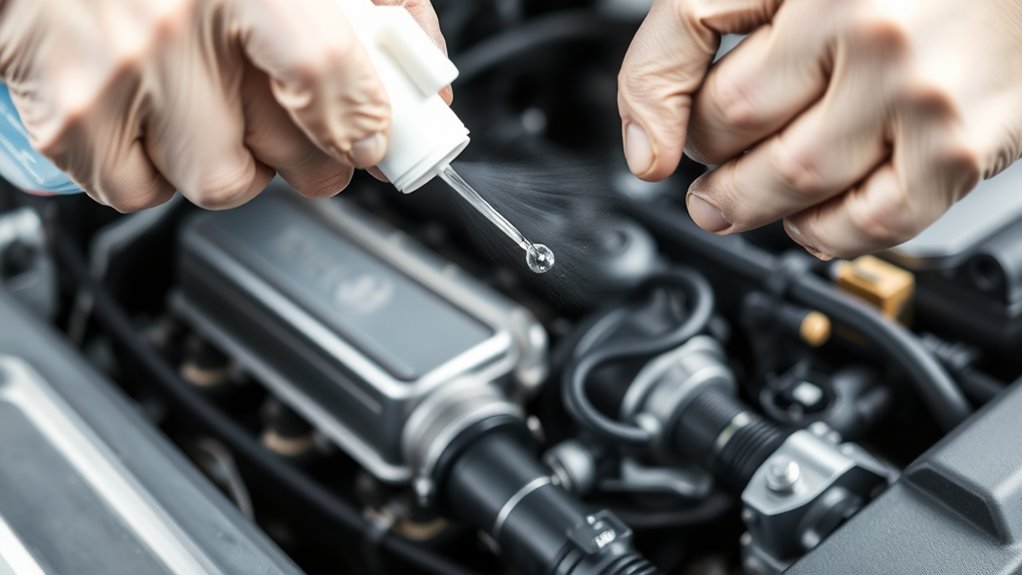
How to Find a Vacuum Leak in 10 Easy Steps
To find a vacuum leak in 10 easy steps, start by checking for rough idle or unusual engine sounds like hissing. These signs often indicate your engine isn’t running smoothly because of a leak.
Next, visually inspect hoses and connections for cracks or looseness.
You can also use soapy water to spot bubbling around suspected areas.
Another simple trick is to press a funnel to your ear to listen for leaks more clearly.
Measuring engine vacuum pressure with a gauge helps confirm if there’s an actual problem.
If you find any damaged parts, replace them and then retest to see if the engine runs smoothly again.
Keep following for more detailed ways to pinpoint and fix leaks efficiently. These tips will save you time and help keep your engine in top shape!
Key Takeaways
- Listen for hissing sounds near vacuum hoses while the engine is idling. You can use a funnel or tube to help amplify the noise and make it easier to pinpoint.
- Take a close look at the hoses and connections. Check for cracks, brittleness, swelling, or any oily residue that might indicate a leak.
- Try spraying soapy water on the hoses and fittings while the engine is running. Keep an eye out for bubbles that don’t go away—that’s a clear sign air is escaping.
- Use a vacuum gauge on the intake manifold to check the pressure. If the readings are low or keep fluctuating, it usually means there’s a vacuum leak somewhere.
- Once you find the faulty parts, replace them. Then retest the vacuum pressure and listen for hissing sounds to make sure the problem is fixed and your engine is running smoothly.
How to Recognize Signs of a Vacuum Leak

How can you tell if your engine has a vacuum leak? One clear sign is a rough or irregular engine idle with RPM fluctuations when the engine is running. You might notice your engine struggling to maintain a steady speed or hesitating during acceleration.
Another common clue is an unusual hissing sound near vacuum hoses, indicating air escaping where it shouldn’t. A vacuum leak lets unmetered air into the system, often causing an increase in fuel consumption or erratic fuel economy because the engine compensates incorrectly.
An unusual hissing near vacuum hoses signals escaping air, leading to higher fuel use and inconsistent economy.
You may also see the check engine light come on as the sensors detect inconsistent readings caused by the leak. Additionally, poor acceleration and a noticeable loss of engine power are typical symptoms, as the disrupted airflow affects combustion efficiency.
Paying attention to these signs while your engine is running can help you quickly identify if a vacuum leak is present. This can save you time and potential repair costs.
Visual Inspection Tips for Finding Vacuum Leaks
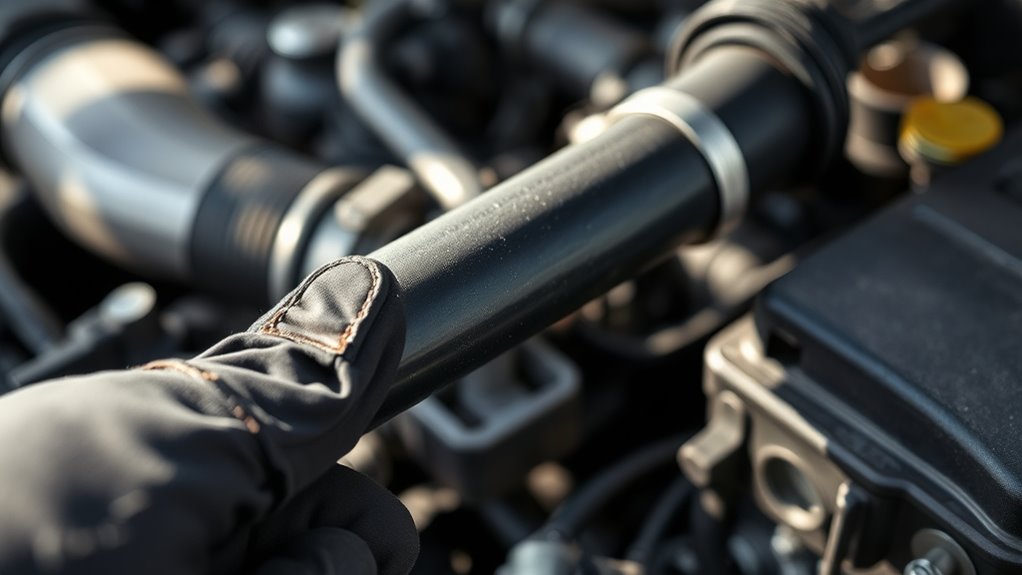
Start by inspecting all vacuum hoses thoroughly for cracks, brittleness, or damage. Make sure to check connections firmly, ensuring nothing is loose or disconnected.
Use a flashlight and mirror to get a clear view of hard-to-see spots behind engine parts. This way, you won’t miss any sneaky leaks hiding out of plain sight.
Inspect Hoses Thoroughly
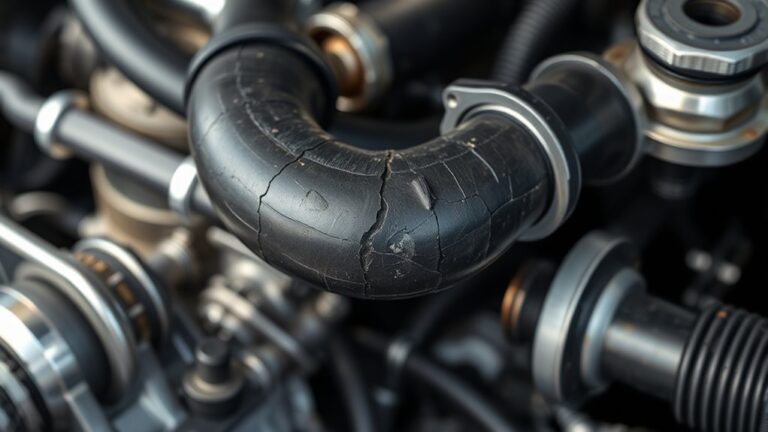
Although vacuum hoses may seem sturdy, they’re often the source of leaks due to cracks, splits, or brittleness—especially near connection points and bends. During your inspection, carefully examine all vacuum hoses for signs of deterioration like hardened or swollen areas.
Use a flashlight and mirror to reach hidden spots behind engine parts and under the intake manifold. Pay close attention to rubber joints and connectors, making sure they remain soft, pliable, and properly seated.
These steps help prevent unmetered air from entering the system. While inspecting, don’t overlook even minor damage, as small cracks can cause significant vacuum leaks.
A thorough inspection of your vacuum hoses guarantees you catch potential problems early and keep your engine running at its best.
Check Connections Firmly
After thoroughly inspecting the vacuum hoses for damage, turn your attention to the connections themselves. Check all vacuum hose connections carefully for looseness, cracks, or disconnections, as these are common sources of vacuum leaks.
Make sure the rubber hoses are still pliable and not brittle or hardened, which can weaken the seal. Tighten all hose clamps to confirm they’re properly securing the hoses to their fittings.
Don’t overlook missing or broken vacuum line fittings, especially near the intake manifold and brake booster, since these areas are prone to leaks. By firmly checking the connections and hose clamps, you’ll eliminate many potential vacuum leaks quickly and keep your system running smoothly without unnecessary repairs.
Use Flashlight And Mirror
When inspecting vacuum hoses and connections, using a flashlight and mirror helps you spot issues in hard-to-see areas under the engine hood. Start your visual inspection by shining the flashlight into tight spaces. This reveals cracks, splits, or damage in rubber hoses that are easy to miss.
Use the mirror to check recessed or hidden areas, especially near the intake manifold, throttle body, and brake booster. Look closely for discolored or oily residue on hoses, as this can signal leaks or deterioration.
Make sure all fittings are securely attached to prevent air leaks. By combining the flashlight’s illumination and the mirror’s angles, you’ll perform a thorough visual inspection that uncovers vacuum leaks effectively without disassembling parts unnecessarily.
Tools to Detect Vacuum Leaks Without a Smoke Machine
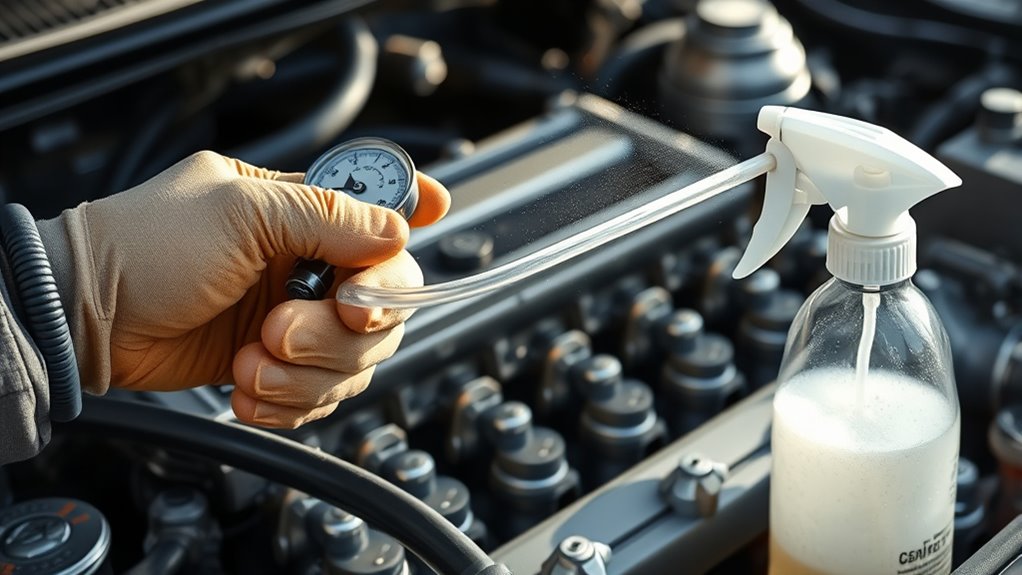
If you don’t have access to a smoke machine, you can still effectively detect vacuum leaks using a few simple tools and techniques. A vacuum gauge helps measure engine vacuum pressure; abnormal readings often indicate leaks.
An ultrasonic leak detector lets you hear escaping air, pinpointing leak sources accurately. Although we’ll discuss soapy water in the next section, combining it with these tools enhances detection.
You can also use a DIY plastic funnel stethoscope to listen for hissing near vacuum lines.
| Tool | Function | Advantage |
|---|---|---|
| Vacuum Gauge | Measures engine vacuum pressure | Detects abnormal pressure |
| Ultrasonic Leak Detector | Listens for ultrasonic air leaks | Pinpoints exact leak location |
| Plastic Funnel Stethoscope | Amplifies hissing sounds | Simple and cost-effective |
| Soapy Water (overview) | Reveals leaks by bubbling | Visual confirmation |
Using these tools, you’ll quickly locate leaks without needing a smoke machine.
Using Soapy Water to Identify Vacuum Leak Locations
Although detecting vacuum leaks can be tricky, spraying soapy water on hoses and connections while the engine idles makes the leaks visible through bubbling. This simple method uses a mixture of dish soap and water in a spray bottle, kind of like how a vacuum cleaner detects leaks by sensing airflow.
Here’s how to apply this method effectively:
- Spray soapy water on vacuum hoses, intake manifold, and connection points.
- Focus on rubber hoses and fittings, which often develop small cracks or disconnections.
- Watch for persistent bubbles forming, indicating escaping air from the vacuum system.
- Keep the engine running during spraying to simulate real operating conditions.
- Once you spot bubbles, turn off the engine and inspect those areas closely to confirm leaks.
This approach lets you pinpoint leaks quickly without specialized tools. It’s an easy, reliable way to keep your vacuum system in good shape.
How to Listen for Vacuum Leaks With a Funnel Device
Using a small funnel pressed firmly against your ear helps you detect vacuum leaks by amplifying the subtle sounds of escaping air. To get started, place the funnel directly against your ear to block out ambient noise completely.
Then, carefully move it around the engine, focusing on vacuum hose connections, the intake manifold, and other components where leaks commonly occur. Listen closely for distinct hissing, popping, or loud sucking sounds, which signal a leak.
When you suspect a specific spot, bring the funnel closer to increase sound intensity and pinpoint the leak’s exact location. This method lets you find vacuum leaks precisely without using gas sprays or smoke, which can be risky.
Using Engine Idle to Pinpoint Vacuum Leak Sources
You can spot vacuum leaks by paying close attention to how your engine idles—look for uneven RPM or sudden fluctuations. Listen carefully for any unusual hissing sounds near hoses or the intake manifold while the engine runs.
These idle behaviors give you clear clues to where the leak might be hiding. It’s like your engine is trying to tell you something, so don’t ignore those little quirks. Keep your ears and eyes open!
Idle Fluctuation Patterns
When your engine idle surges, drops, or fluctuates unpredictably, it often signals a vacuum leak near the intake or vacuum lines. These irregular idle patterns happen because unmetered air sneaks into the engine, disrupting airflow and causing RPM instability.
To pinpoint the issue, watch for these signs:
- High or unstable idle speed that suddenly drops to a stall
- Rough or hesitant engine behavior at idle
- Sudden RPM fluctuations without driver input
Also, keep an eye out for changes triggered by spraying carb cleaner near vacuum hoses. Using a scan tool might show inconsistent engine load or airflow, which can help confirm the problem.
RPM Changes Observation
Although vacuum leaks can be tricky to locate, observing RPM changes during engine idle gives you a clear clue about their presence and position. When you spray carb cleaner or soapy water near vacuum lines, watch for a noticeable RPM increase—that signals a leak right there.
You can also block the intake or disconnect hoses; any RPM changes help pinpoint the exact source. If the RPM rises or stays steady when you temporarily seal a suspected area, you’ve found the leak.
Conversely, if disconnecting a vacuum line causes consistent RPM drops or stalling, that line or component likely causes the problem. By carefully monitoring how the RPM reacts to these tests, you’ll efficiently identify vacuum leaks without guessing.
Engine Sound Clues
Since vacuum leaks often produce distinct noises, listening carefully during engine idle can help you pinpoint their location. Pay close attention to any hissing or sucking sounds, which usually signal a leak.
You can enhance your accuracy by using a stethoscope or a funnel to isolate the source. An unstable or fluctuating idle speed might also indicate an air-fuel mixture issue caused by a leak.
Focus on noises near vacuum hoses, intake manifold gaskets, or their connections. Additionally, comparing engine sounds at different idle speeds can reveal changes in noise intensity that help locate the leak.
- Listen for hissing or sucking during idle
- Use a stethoscope or funnel to localize sounds
- Notice irregular or fluctuating idle speed
- Focus on vacuum hose and gasket areas
- Compare sounds at varying idle speeds
Measuring Engine Vacuum Pressure to Confirm Leaks
To confirm a vacuum leak, you’ll need to measure the engine’s vacuum pressure using a calibrated vacuum gauge. First, connect the gauge directly to a vacuum port on the intake manifold or a vacuum hose with the right fittings.
Start the engine and keep it idling while you observe the gauge reading. In a healthy engine, vacuum pressure typically ranges between 17 and 21 inches of mercury (Hg) at idle.
If the reading is notably lower or fluctuates, it usually signals a vacuum leak. Make sure to compare your measurements with the specifications found in your vehicle’s service manual to see if the vacuum level falls within the acceptable range.
Maintaining a steady idle speed during this test is essential, as inconsistent engine speed can affect the vacuum reading and lead to inaccurate conclusions. This method provides a reliable way to confirm the presence of vacuum leaks before moving on to other diagnostic steps.
How to Check Vacuum Hoses for Vacuum Leak Damage
Start by visually inspecting all vacuum hoses for cracks, splits, or loose connections, especially around bends and fittings. Make sure the hoses feel soft and flexible, not brittle or hardened.
Also, check that they’re seated properly. Don’t forget to tighten any clamps to prevent leaks.
If you spot any damaged hoses, replace them with the right replacements. It’s a simple step that can save you from bigger problems down the road.
Visual Hose Inspection
When inspecting vacuum hoses, you’ll want to carefully examine their entire length and connection points for cracks, splits, or brittle spots that could cause leaks. Pay close attention to any signs of wear or damage.
Here’s what you should look for:
- Cracks, splits, or brittle areas along the hose
- Loose or disconnected hoses not firmly attached to fittings
- Soft, swollen, or hardened sections indicating deterioration
Use a flashlight and mirror to check hidden or hard-to-see hoses. And remember, replace any damaged or worn hoses promptly to avoid leaks.
Hose Flexibility Testing
Although visual inspections can reveal obvious damage, you’ll need to flex your vacuum hoses gently to detect hidden cracks, brittleness, or stiffness that signal deterioration.
When you squeeze or bend the hoses, pay attention to how they feel. Hoses that are hard, brittle, or cracked indicate aging and potential leaks.
Good hoses should be pliable and snap back to their original shape. Stiff hoses can’t seal properly, causing vacuum loss.
Replace any hoses showing cracking, hardening, or excessive softness to keep your system airtight. Remember to check both rubber and plastic hoses regularly to maintain vacuum integrity.
| Condition | What to Do |
|---|---|
| Brittle | Replace immediately |
| Cracked | Replace immediately |
| Stiff | Replace to prevent leaks |
| Pliable | No action needed; hose is good |
Connection Point Checks
Since vacuum hoses often develop issues at connection points, you should carefully inspect these areas for cracks, splits, or brittle spots. Start by visually examining the hoses near bends and fittings, where damage tends to occur.
Then, check the hose clamps to verify they’re tight and holding the hoses securely without slipping. It’s a good idea to gently tug on each hose to confirm it’s firmly attached and hasn’t loosened.
Also, watch for hardened or swollen rubber, which signals a potential leak risk. Finally, inspect connection points at the intake manifold, throttle body, and other components for wear or corrosion.
- Look for cracks, splits, or brittle spots near connections
- Verify hose clamps are tight and properly positioned
- Tug hoses gently to check for loose fittings
- Identify hardened or swollen rubber areas
- Examine intake manifold and throttle body connections for wear or corrosion
Testing Hidden Components for Vacuum Leaks
To accurately diagnose vacuum leaks in hidden components, you’ll need to combine careful visual inspection with precise testing methods. Start by using a mirror and flashlight to check areas like the intake manifold and brake booster for cracks or loose connections.
While the engine runs, spray soapy water or carb cleaner around concealed hoses and fittings—look for bubbles or listen for RPM changes, as these indicate escaping air. Use a vacuum gauge to measure pressure in hidden lines, then compare those readings to the manufacturer’s specs.
Spray soapy water or carb cleaner on hidden hoses while the engine runs to detect leaks by bubbles or RPM changes.
If you don’t have a gauge, gently listen for hissing sounds with a tube or funnel acting as a stethoscope near hard-to-reach spots. Don’t forget to perform a tactile check on sealed components to guarantee all connections are tight and intact.
These methods help you pinpoint leaks that aren’t visible during basic inspections, making your diagnosis more accurate and efficient.
How to Replace Parts and Fix Vacuum Leaks
When you spot a vacuum leak, replacing the faulty part quickly restores your engine’s performance. Start by carefully identifying the damaged hose, connector, or component through visual checks and listening for hissing sounds.
Once located, disconnect the faulty part, noting its exact position and connections to ensure correct reinstallation. Next, install the new part securely, making sure all connections are tight and properly seated to avoid future leaks.
After replacement, use a vacuum gauge to verify the vacuum pressure meets the manufacturer’s specifications. Finally, start the engine and observe its operation, listening for any unusual noises or rough idling that might indicate an issue.
Follow these steps to fix vacuum leaks effectively:
- Identify the damaged part using inspection and sound
- Disconnect the faulty component carefully
- Install the new part with secure connections
- Check vacuum pressure with a gauge
- Test engine operation for smoothness and silence
Frequently Asked Questions
What’s the Easiest Way to Find a Vacuum Leak?
The easiest way to find a vacuum leak is by visually inspecting hoses and connections for cracks or damage.
You can also spray soapy water on suspect areas and watch for bubbles where air escapes.
This method is simple and doesn’t require any special tools. Just take your time and be thorough.
Can You Use WD-40 to Find a Vacuum Leak?
Yes, you can use WD-40 to find a vacuum leak by spraying it on suspected areas. If the engine idle changes, you’ve likely found a leak.
Just be careful—it’s flammable and only a temporary test. So, don’t rely on it as a permanent fix or use it in large amounts.
What Can I Spray on My Engine to Find a Vacuum Leak?
You can spray soapy water or a mix of dish soap and water on your engine’s vacuum hoses and connections.
Watch for bubbles or changes in RPM to spot leaks safely without risking engine damage.
It’s an easy way to find leaks without using harsh chemicals or complicated tools. Just take your time and be careful around hot engine parts.
Can I Spray Water to Find a Vacuum Leak?
You can spray water to find a vacuum leak since bubbles form at leak sites, making detection easier. Just keep the engine idling and avoid electrical parts.
This simple method works well for many, but not all, leaks. Give it a try and see if it helps you pinpoint the problem!
Conclusion
Now that you know how to spot signs, inspect visually, use simple tools, listen carefully, and measure pressure, you’re well on your way to finding vacuum leaks. Don’t forget to check hoses, test hidden parts, and replace faulty components to get the job done right.
You’re ready to tackle vacuum leaks confidently, saving money and improving engine performance along the way. Plus, this helps prevent future issues that can cause headaches down the road.
Follow these easy steps, trust your instincts, and take action promptly. Finding and fixing vacuum leaks has never been easier or more satisfying. So, get started today and breathe new life into your engine with a smooth-running, leak-free vacuum system!



2 Comments