

How to Fix a Vacuum Leak in Your Car in 7 Easy Steps
To fix a vacuum leak in your car, start by recognizing common symptoms like rough idling, poor acceleration, or hissing sounds coming from the engine bay. These signs often point to a vacuum leak, which can affect your car’s performance and fuel efficiency.
Next, inspect the vacuum hoses and intake parts carefully for any cracks, holes, or damage. Sometimes leaks are easy to spot, but other times you might need to listen closely or even use a smoke machine to detect hidden leaks.
Once you find the problem areas, replace any faulty hoses or seals with quality materials. Make sure all connections are secured tightly to prevent future leaks.
After repairs, clear any engine codes and monitor fuel trims to confirm that the fix worked.
Finally, keep your vacuum hoses well-maintained with regular checks to avoid leaks down the road.
Follow these simple steps, and you’ll help your engine run smoothly while preventing common vacuum leak issues.
Key Takeaways
- Inspect vacuum hoses and intake components for cracks, brittleness, or loose connections using a flashlight. Listen carefully for any hissing sounds that might give away a leak.
- Use a smoke machine to detect hidden vacuum leaks. Just watch for smoke escaping from any spots in the intake system.
- Replace any damaged or brittle hoses and worn intake manifold gaskets. Make sure to use heat-resistant materials and tighten all clamps securely.
- Clear diagnostic trouble codes with an OBD-II scanner. Then, take the car for a test drive while monitoring the fuel trims to see if the repair worked.
- Perform regular maintenance by checking hoses for wear. Also, double-check fittings and clamps to keep future vacuum leaks and engine problems at bay.
Recognize Symptoms of a Vacuum Leak
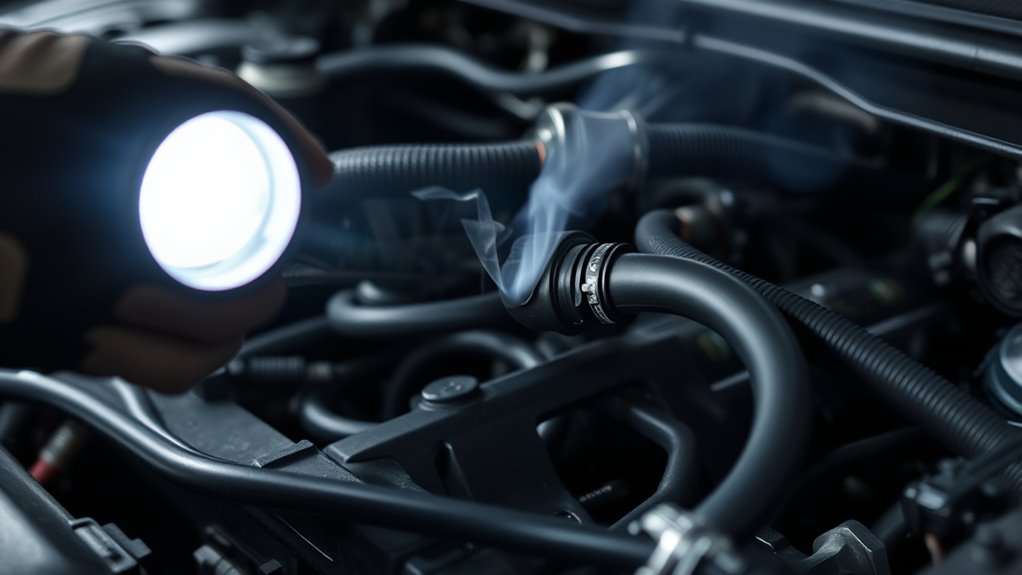
How can you tell if your car has a vacuum leak? Pay close attention to engine symptoms like rough idling or sudden stalling. These happen because the air-fuel mixture becomes unbalanced when air escapes through a vacuum leak.
You might also notice poor acceleration, hesitation when you press the gas, or your fuel consumption increasing without explanation. Another clue is an unusual hissing or whistling sound from the engine bay—that sound is air escaping from the leak.
Often, your Check Engine Light will come on, and diagnostic trouble codes related to air intake or fuel trims might show up. If your engine runs roughly or stalls unexpectedly, it’s a strong sign you’re dealing with a vacuum leak.
A Check Engine Light and rough idling often signal a vacuum leak in your engine.
Recognizing these symptoms early helps you address the issue before it causes more serious engine problems. So, keep an ear out and don’t ignore those unusual engine behaviors!
Inspect Vacuum Hoses and Intake Components for Damage
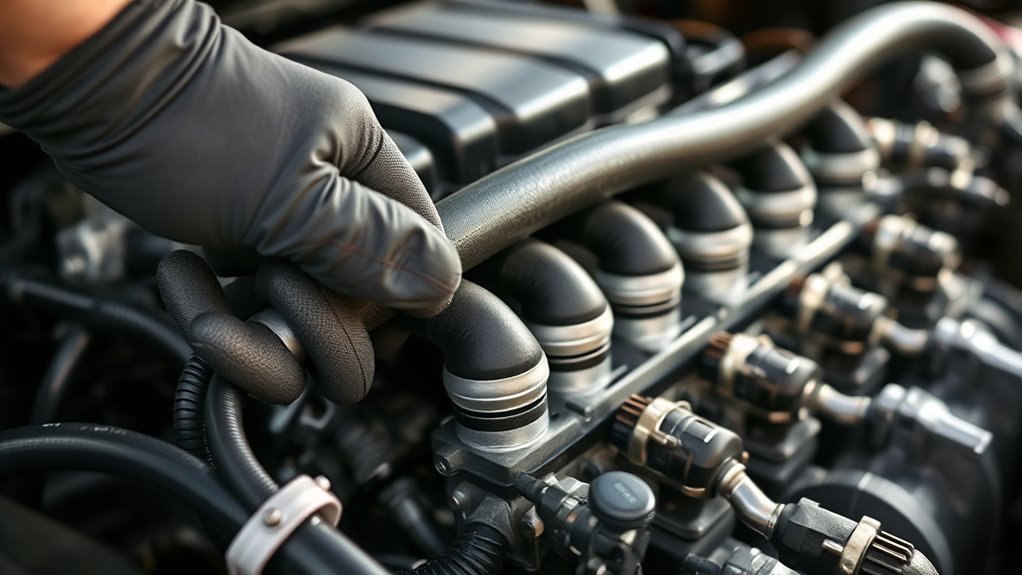
Start by carefully inspecting all vacuum hoses for cracks, brittleness, or any signs of wear, especially around the connections. Don’t forget to check the intake manifold seals and gaskets for damage or gaps that could cause leaks.
Using a flashlight can help you spot small splits or holes that aren’t visible in normal light. It’s a simple trick but super effective when you need to catch those sneaky leaks.
Visual Hose Inspection
Although vacuum hoses are often overlooked, inspecting them carefully can help you spot cracks, splits, or brittleness that cause leaks. During your inspection, focus on areas where hoses connect to other parts, as these spots are prone to damage.
Here’s how to perform a thorough visual hose inspection:
- Use a flashlight to check for small holes, cracks, or hardening in vacuum hoses, especially in hidden spots.
- Look for loose or disconnected hoses and make sure all clamps are tight to prevent air leaks.
- Replace any hoses that appear swollen, cracked, or brittle to maintain a proper seal and avoid further leaks.
Regular inspection of vacuum hoses is key to catching leaks early and keeping your engine running smoothly. It’s a simple step that can save you from bigger problems down the road.
Checking Intake Seals
After thoroughly inspecting your vacuum hoses for cracks and loose connections, turn your attention to the intake seals and related components. Check intake manifold seals and gaskets for wear or leaks that let unmetered air in.
Use a flashlight to spot softened or deteriorated rubber parts that may be brittle or swollen. Make sure clamps and fittings are tight to prevent leaks.
Here’s a quick guide to what you should look for:
| Component | Signs of Damage | What to Do |
|---|---|---|
| Vacuum Hoses | Cracks, splits, loose ends | Replace or reconnect securely |
| Intake Seals | Wear, gaps, hardened rubber | Replace damaged seals |
| Clamps & Fittings | Loose or missing | Tighten or replace |
Inspecting these carefully helps you stop leaks and keep your engine running smoothly. It’s a simple step that can save you from bigger problems down the road.
Listen for Hissing Sounds to Detect Vacuum Leaks

When your engine is running, listen carefully for any hissing sounds around the intake manifold, vacuum hoses, and gasket areas. These noises often reveal the presence of a vacuum leak. Escaping air creates distinct hissing sounds that help pinpoint the leak’s location.
To make it easier to hear these noises, use a listening device like a mechanic’s stethoscope or a length of hose. These tools amplify the sound, so you can detect even subtle leaks.
Focus on these key steps:
- Slowly move your listening device around potential leak points—intake manifold, vacuum hoses, and gaskets.
- Pay attention to changes in hissing sounds when the engine is idling or revved.
- Identify consistent hissing noises, which usually mean cracks or loose connections in vacuum lines or seals.
Use a Smoke Machine to Find Hidden Vacuum Leaks
Wondering how to find those hard-to-detect vacuum leaks? A smoke machine is a great tool for this. It works by pumping smoke into your car’s intake system, making any leaks visible as the smoke escapes through cracks or damaged seals.
To use it, disconnect the air filter and introduce the smoke into the intake system. Watch closely for smoke coming out of unexpected places—that’s where your vacuum leaks are hiding.
Smoke machines are surprisingly affordable, typically around $30 online, making them a practical choice for DIY repairs. Just remember to follow safety precautions: work in a well-ventilated area and keep away from open flames.
Using a smoke machine helps you pinpoint leaks that are impossible to hear or see, saving you time and guesswork. This method guarantees you find every vacuum leak in the intake system efficiently and accurately.
Replace or Repair Damaged Vacuum Hoses and Seals
Once you’ve identified vacuum leaks with a smoke machine, the next step is to address the damaged hoses and seals causing the issue. Start by carefully inspecting all vacuum hoses for cracks, brittleness, or disconnections, especially around bends and connection points.
Worn or damaged seals, including intake manifold gaskets, can also cause leaks and should be checked.
Follow these steps to replace or repair:
- Replace any damaged or brittle vacuum hoses with high-quality, heat-resistant rubber or silicone hoses to guarantee a tight seal.
- Examine seals and intake manifold gaskets, replacing any that show wear or damage to stop leaks around the intake area.
- Tighten all hose clamps securely to prevent air from entering through loose fittings.
After installation, use a smoke test or visual check to confirm that all hoses and seals are properly sealed and free of leaks. This ensures your repair is complete and effective.
Clear Engine Codes and Monitor Fuel Trim to Confirm Fix
Once you’ve fixed the vacuum leak, use an OBD-II scanner to clear any engine trouble codes. Then, monitor the fuel trim readings while you run the engine and take it for a test drive.
If the repair worked, the fuel trims should settle close to zero, confirming the leak is sealed. This way, you know for sure the problem is fixed.
Clearing Diagnostic Trouble Codes
After you repair a vacuum leak, clearing the diagnostic trouble codes (DTCs) lets your car’s engine control module reset and recognize the fix. To do this effectively, use an OBD-II scanner to clear codes manually. This speeds up the confirmation process compared to waiting for automatic clearing.
Then, keep an eye on the fuel trim values. They should return close to zero if the leak is sealed properly.
Here’s what you should do:
- Perform a test drive before clearing codes to gather baseline data.
- Use a scanner to clear codes after the repair.
- Recheck fuel trim and watch for any new trouble codes to confirm the fix.
This approach guarantees your car runs smoothly and the vacuum leak is fully resolved.
Monitoring Fuel Trim Response
Clearing your car’s engine codes sets the stage for tracking how fuel trim values respond to the repair. After fixing the vacuum leak, you’ll want to monitor fuel trims to see if they return to near zero (+/- 5%). That usually signals the engine is self-correcting.
Pay close attention during acceleration—if fuel trim corrections drop considerably, it means the leak’s sealed properly. Let your vehicle run for several minutes or take it for a test drive to observe how the fuel trims stabilize.
If you notice fuel trims staying high or fluctuating after the repair, it’s a sign you need to inspect further for other issues. Monitoring fuel trims this way confirms whether your repair was successful and helps avoid future problems.
Maintain Vacuum Hoses to Prevent Future Leaks
Although vacuum hoses may seem sturdy, they can develop cracks and brittleness over time, especially near connection points. To prevent future leaks, it’s essential to guarantee proper maintenance.
Regularly inspect your vacuum hoses for any signs of wear or damage. Catching issues early helps you avoid costly repairs down the road.
When you find aging or damaged hoses, replace them with high-quality, heat-resistant materials to ensure durability. Additionally, secure every connection with proper hose clamps to prevent leaks caused by loose fittings.
Here’s how you can maintain your vacuum hoses effectively:
- Inspect hoses routinely for cracks, brittleness, or leaks, focusing on connection points.
- Replace any worn or damaged hoses promptly with quality, heat-resistant options.
- Use proper clamps to tighten all fittings and prevent loose connections.
Stay proactive with your vacuum hoses to keep your car running smoothly and leak-free.
Frequently Asked Questions
How Easy Is It to Fix a Vacuum Leak?
Fixing a vacuum leak is usually pretty easy if you spot the damaged hose or gasket. You can replace them yourself quickly with basic tools.
But sometimes, tricky spots might need professional help or advanced skills. It’s not always a DIY job, you know?
What Is the Easiest Way to Find a Vacuum Leak on a Car?
Think of smoke gently escaping from a cracked window—that’s how a smoke machine shows your vacuum leak.
You’ll spot air bubbles escaping the intake system, making it the easiest way to pinpoint where your leak hides.
Can You Still Drive a Car With a Vacuum Leak?
You can drive a car with a small vacuum leak briefly, but it’ll cause rough idling, poor acceleration, and damage over time.
If the engine stalls or runs very rough, don’t drive until you fix it. It’s better to be safe than sorry!
Where Is the Most Common Place for a Vacuum Leak?
When it comes to vacuum leaks, the intake manifold gasket is where you’ll most likely find trouble.
If it’s worn out, you’ll be chasing your tail trying to fix engine performance issues. Check it first.
Conclusion
Fixing a vacuum leak can boost your car’s fuel efficiency by up to 10%, saving you money and improving performance. By following these easy steps, you’ll quickly spot and repair leaks before they cause bigger problems.
Keep an ear out for hissing sounds and regularly check your hoses to stay ahead. Remember, a well-maintained vacuum system means a smoother, more reliable ride every time you hit the road.
In short, identifying and fixing a vacuum leak is one of the best ways to enhance your vehicle’s overall health. It helps prevent engine issues, improves fuel economy, and keeps your car running smoothly. So, make it a habit to inspect your vacuum hoses regularly—catching leaks early saves you time and costly repairs. A properly functioning vacuum system ensures better engine performance and a more enjoyable driving experience every time you get behind the wheel.




2 Comments