
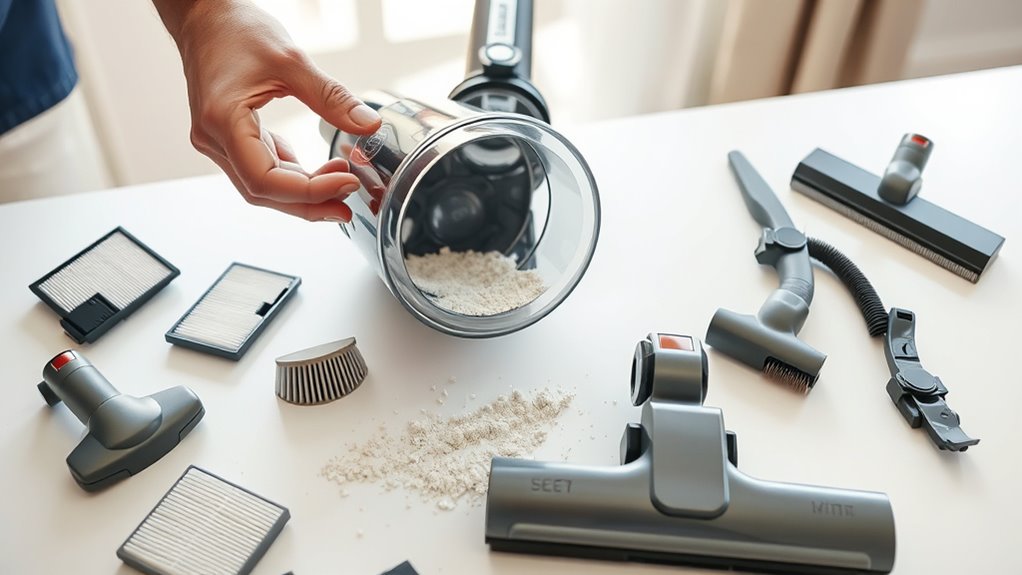
How to Clean a Vacuum Cleaner in 7 Easy Steps
Unplug your vacuum and gather supplies like cloths and brushes. Empty the dust container or replace the bag when it’s half full.
Remove filters, inspect for damage, then wash washable ones and let them dry completely. Cleaning these parts regularly helps keep your vacuum cleaner working at its best.
Next, clean the brush roll, vacuum head, hoses, and attachments separately. Make sure to remove debris and blockages to maintain strong suction.
Reassemble everything securely and test the suction. Follow these steps, and you’ll keep your vacuum running smoothly and efficiently—there’s more to learn for thorough upkeep.
Key Takeaways
- Unplug the vacuum and remove all detachable parts like filters, bags, and brushes for safe and thorough cleaning. This way, you can get to all the nooks and crannies without any hassle.
- Empty the dust container or replace the bag when it’s about half full. Then, wipe it clean with a damp cloth to keep things fresh.
- Clean washable filters under cold water and let them air dry completely for at least 12 hours before reinstalling. Trust me, skipping this step can mess with your vacuum’s performance.
- Remove hair and debris from brush rolls and clear blockages in hoses using tweezers or a soft brush. It might take a little time, but it’s worth it to keep everything running smoothly.
- Reassemble all dry components securely, test suction power, and listen for unusual noises to make sure everything’s working right. If something sounds off, don’t ignore it!
Unplug the Vacuum Cleaner and Gather Supplies
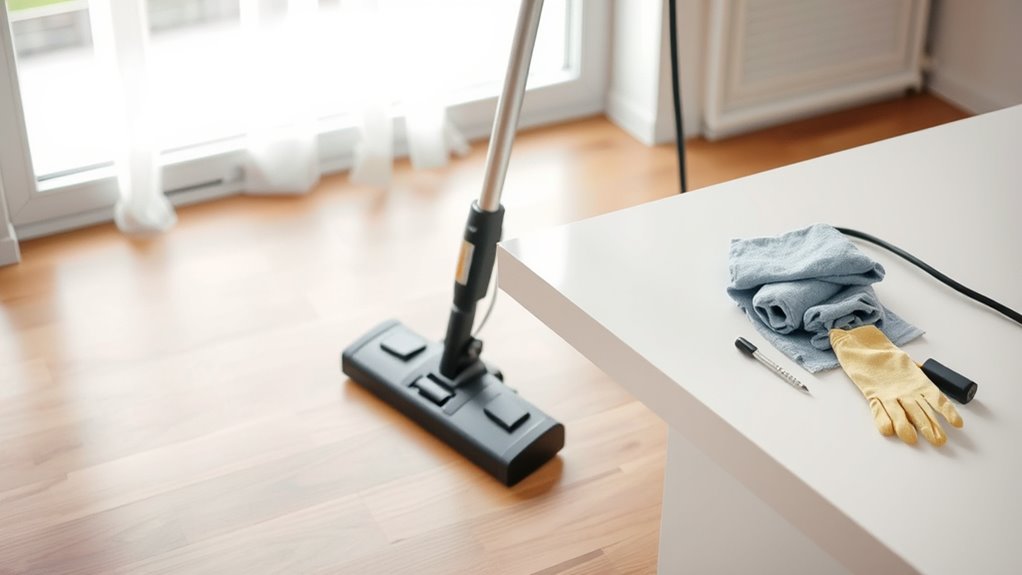
Before you plunge into cleaning your vacuum cleaner, why not make sure your workspace is safe and organized? First, unplug the vacuum cleaner from the power outlet to guarantee safety and prevent accidental activation or electrical hazards. Never start cleaning or maintenance while it’s still connected to power.
Next, gather all necessary supplies to streamline the process. You’ll want microfiber cloths, a soft-bristled brush, dish soap, water, a toothbrush, and tweezers ready. Also, have any tools like screwdrivers or disassembly manuals on hand before you begin.
Preparing a designated workspace with good lighting and a clean surface will make disassembling and cleaning parts much easier and safer. Taking these steps upfront helps you avoid interruptions and reduces risks, letting you focus purely on cleaning your vacuum efficiently and safely.
Empty the Vacuum Cleaner Dust Container or Replace the Dust Bag
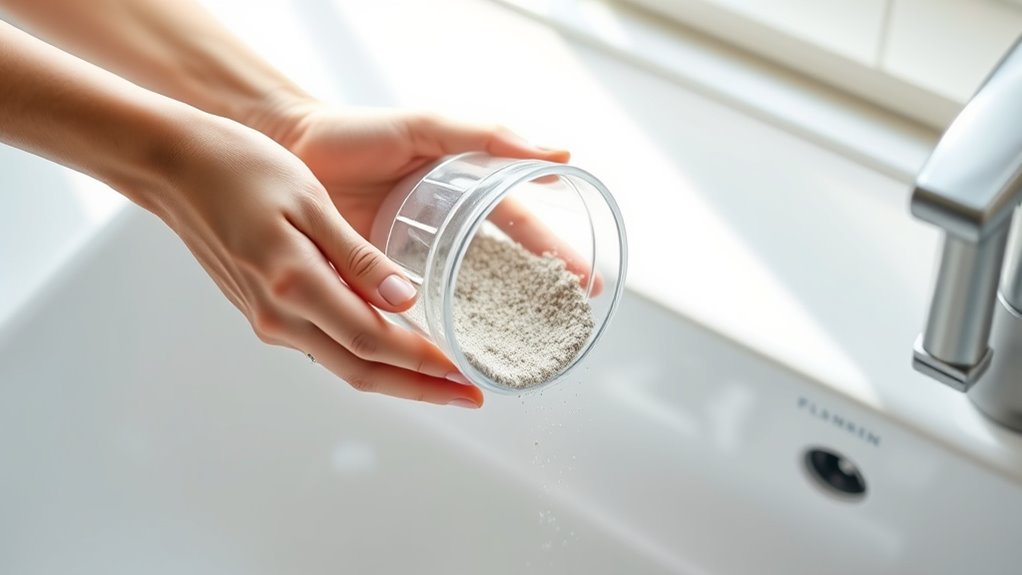
When your vacuum’s dust container or bag reaches about half to three-quarters full, it’s time to empty or replace it to keep suction strong. First, carefully detach the dust container or bag according to the manufacturer’s instructions to avoid any dust spillage.
If you have a dust container, empty its contents into a trash bag, making sure no debris escapes. For vacuum bags, remove the full bag and replace it with a new one.
After emptying the dust container, wipe both the inside and outside with a damp cloth or all-purpose cleaner to remove any leftover dust and prevent odors. Once clean, securely reinstall the empty dust container or the new dust bag.
Make sure it’s properly seated to prevent leaks and maintain your vacuum’s performance. Regularly emptying or replacing the dust container or bag helps keep your vacuum running efficiently and extends its lifespan.
Remove Filters and Check for Damage
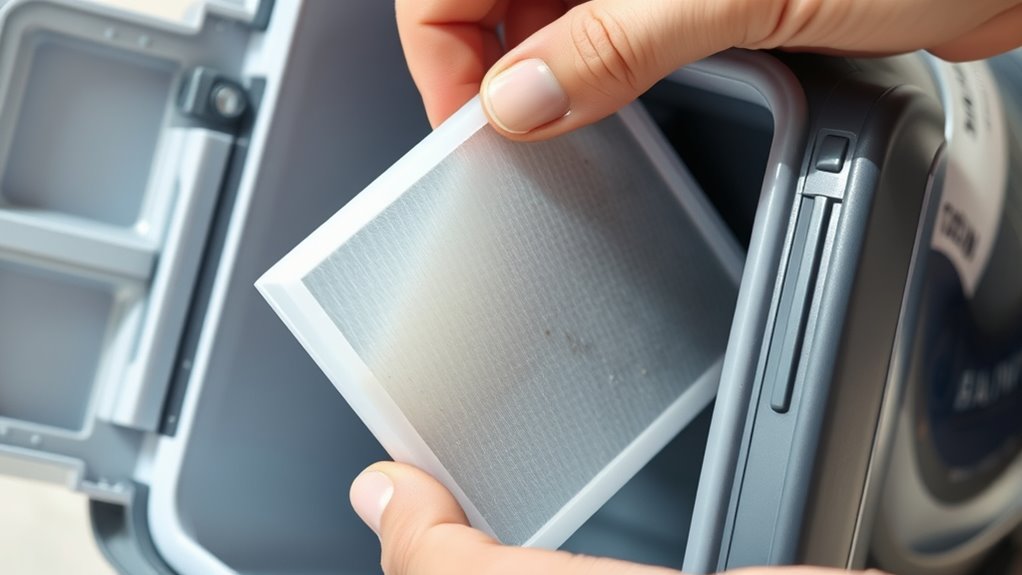
Start by carefully removing the filters according to the manufacturer’s instructions to avoid damage. Take a close look for any tears, holes, or signs of wear.
Don’t hesitate to replace filters that are damaged. Keeping your filters in good condition guarantees your vacuum works efficiently.
Inspect Filters Carefully
Although cleaning your vacuum’s filters might seem straightforward, you need to remove them carefully according to the manufacturer’s instructions to avoid damage. Once removed, take time to inspect each filter thoroughly.
Look for any tears, holes, or signs of damage that could reduce the filter’s effectiveness. Check both sides for accumulated dirt, debris, or blockages that might restrict airflow.
If you find any tears or deformations, or if the filter is excessively dirty and can’t be cleaned properly, it’s best to replace it. Always refer to your vacuum’s user manual for specific damage indicators and recommended replacement intervals.
This will help guarantee your vacuum operates efficiently. Proper inspection helps maintain suction power and prolongs the life of your vacuum cleaner.
Remove Filters Properly
After inspecting your vacuum’s filters, you’ll need to remove them carefully following the manufacturer’s instructions to avoid causing any damage. Handle the filters gently, especially if they’re made of delicate materials like paper or foam, to prevent tearing or deformation.
Always consult your user manual for the specific removal procedure for your vacuum model. Once removed, inspect the filters thoroughly for any tears, cracks, or other signs of damage. This step is vital to guarantee your vacuum operates efficiently.
Make sure the filters are completely dry before reinstalling them to prevent mold growth. Taking these careful steps when you remove and inspect your vacuum’s filters helps maintain your cleaner’s performance and prolongs its lifespan.
Replace Damaged Filters
When you remove your vacuum’s filters, take a close look for any tears, holes, or damage that could affect their ability to trap dust and debris. Inspect each filter carefully, and if you spot any damage or excessive dirt that won’t come off with cleaning, it’s time to replace them.
For washable filters, clean them thoroughly with water, then make sure they’re completely dry before putting them back. Using manufacturer-recommended replacement filters guarantees a proper fit and maintains your vacuum’s performance.
Don’t skip this step during cleaning the filters, as damaged filters can reduce suction and allow dust to escape. Keeping your filters in good condition helps your vacuum work efficiently and prolongs its lifespan.
Clean or Wash Filters and Let Them Dry Completely
Before cleaning your vacuum’s filters, make sure to remove them according to the manufacturer’s instructions to avoid damage. Once removed, gently tap or use a soft brush to dislodge any loose dust and debris.
If your vacuum has washable filters, rinse them under cold water without soap or detergents unless your manual says otherwise. This helps preserve the filter’s material and effectiveness.
After rinsing, it’s essential to let your filters dry completely before placing them back. Find a well-ventilated area and allow at least 12 hours of drying time.
Avoid using a dryer or exposing the filters to direct sunlight, as excessive heat can damage the filtering material. Proper drying guarantees your vacuum maintains peak suction and prevents mold or mildew buildup.
Taking these steps keeps your vacuum running efficiently and extends the life of your filters. It’s a simple routine that really pays off in the long run!
Clean the Vacuum Head, Brush Roll, and Base Plate Separately
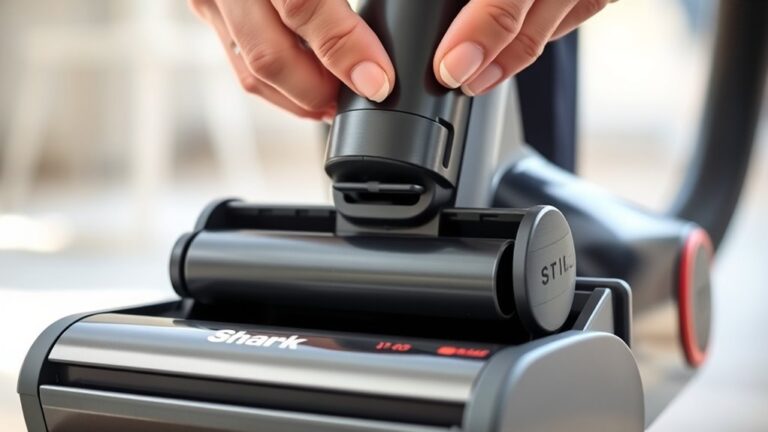
Cleaning your vacuum’s filters thoroughly sets the stage for tackling the vacuum head, brush roll, and base plate. First, detach the vacuum head or brush roll following the manufacturer’s instructions.
Use scissors or a small slicing tool to carefully remove hair, threads, and debris wrapped around the brush roll. This prevents damage and guarantees the best performance.
Next, wipe down the base plate and surrounding areas with a damp microfiber cloth to clear away dust and grime buildup. Take a moment to inspect the brush roll for any damage or worn bristles.
If you spot cracks or significant wear, replace the brush roll to maintain cleaning efficiency. Finally, make sure both the brush roll and base plate are completely dry before reassembling to avoid mold growth or electrical problems.
Wash and Clear the Hose and Attachments
Although it might seem tedious, washing and clearing the hose and attachments is essential for maintaining your vacuum’s suction power. Start by detaching the hose and attachments from your vacuum.
Rinse them thoroughly under warm water to wash away dust and loose debris. For any stubborn dirt, soak the hose and attachments in a mixture of warm water and dish soap for at least 30 minutes.
After soaking, use a pipe cleaner or a long brush to clear any clogs or blockages inside the hose. This step guarantees that nothing obstructs airflow.
Once cleaned, rinse everything again with warm water to remove soap residue. Finally, lay the hose and attachments on a towel and let them dry completely for at least 12 hours.
Proper drying prevents mold growth and damage. Taking these simple steps will keep your vacuum’s hose and attachments clean, improving performance and prolonging the life of your vacuum cleaner.
Reassemble and Test Your Vacuum Cleaner
Before you start reassembling, make sure all parts are completely dry to prevent damage. Securely fit each component, like filters and hoses, into their proper places.
Once everything is in place, plug in your vacuum and test the suction to confirm it’s working correctly. This way, you’ll know for sure everything is set up just right.
Ensure Parts Are Dry
Because moisture can cause mold growth and damage electrical components, you need to make sure all vacuum parts are completely dry before putting them back together. After cleaning, lay the parts on a clean towel and let them air dry for at least 12 hours.
Use a microfiber cloth to gently remove any leftover moisture from surfaces. Pay special attention to filters—if they aren’t fully dry, their efficiency drops and they might harm the motor.
Only once every part is thoroughly dry should you start reassembling your vacuum cleaner. This careful drying process helps prevent mold and electrical issues.
After reassembling, test your vacuum by plugging it in and running it briefly to ensure everything functions correctly. Taking these steps guarantees your vacuum stays in great shape.
Secure All Components
Once all the vacuum parts are completely dry, you can start putting them back together. Make sure every component is dry to avoid mold or electrical issues.
To reassemble your vacuum cleaner properly, follow these steps:
- Securely reattach each component, ensuring all latches and clips click into place.
- Check that filters are properly seated and undamaged to maintain ideal airflow and filtration.
- Perform a quick visual inspection to confirm no parts are missing or improperly fitted.
Taking these precautions guarantees your vacuum will function smoothly. By carefully reassembling the components, you’ll extend your vacuum’s life and keep it running efficiently.
Test Suction Performance
How can you be sure your vacuum is working at its best after cleaning? First, reassemble all parts securely, including filters, hose, and attachments.
Then, plug in the vacuum and turn it on to test suction. Use a tissue or small object at the nozzle to check for proper suction strength.
If suction feels weak or you hear unusual noises, inspect for debris or loose connections and clear any clogs.
| Step | What to Check |
|---|---|
| Reassembly | Secure all parts tightly |
| Power On | Confirm vacuum starts |
| Suction Test | Use tissue at nozzle |
| Noise Check | Listen for unusual sounds |
| Troubleshooting | Clear obstructions, reattach |
Testing suction ensures your vacuum operates efficiently and cleans effectively.
Frequently Asked Questions
How to Clean a Vacuum Cleaner Step by Step?
You’ll unplug it first, then remove and clean filters and dustbin.
Next, detach and clean brush rolls and hoses.
Wipe the exterior, let parts dry, reassemble everything securely, and test your vacuum afterward.
It’s pretty straightforward once you get the hang of it!
How Do I Clean the Inside of My Vacuum?
You clean inside your vacuum by removing the dustbin, filters, and brush attachments. Use a soft brush or cloth to wipe away dust and debris carefully.
Make sure all parts are dry before reassembling for best performance. It’s a simple step, but it really helps your vacuum work better and last longer.
How to Clear a Vacuum for Better Suction?
You might think clearing a vacuum is complicated, but it’s simple. Just remove clogs from the hose and brush roll.
Clean or replace filters, and empty the dustbin regularly to instantly boost your vacuum’s suction power.
It’s easier than you’d expect, and your vacuum will work like new in no time!
How to Use the Simplest Vacuum Cleaner?
You just plug it in and turn it on. Then, slowly push it over your floor or carpet.
If you want to clean corners or upholstery, use the basic attachments. Keep it moving steadily so you pick up dirt efficiently without missing spots.
Conclusion
Now that you’ve unplugged your vacuum, emptied the dust container, cleaned the filters, and washed the hose, you’re ready to enjoy a cleaner, more efficient machine.
By following these simple steps, you’ll extend your vacuum’s life, improve its performance, and keep your home spotless. Taking care of your vacuum regularly really pays off.
Make sure to clean its parts often and reassemble it properly—you’ll notice the difference every time you use it. Regular vacuum maintenance isn’t just about keeping the machine running smoothly; it helps maintain powerful suction and prevents dust buildup in your home.
So, invest a little time in cleaning your vacuum cleaner. A well-maintained vacuum means better cleaning results, longer lifespan for your appliance, and a healthier living space overall. Trust me, your vacuum (and your home!) will thank you.



One Comment