
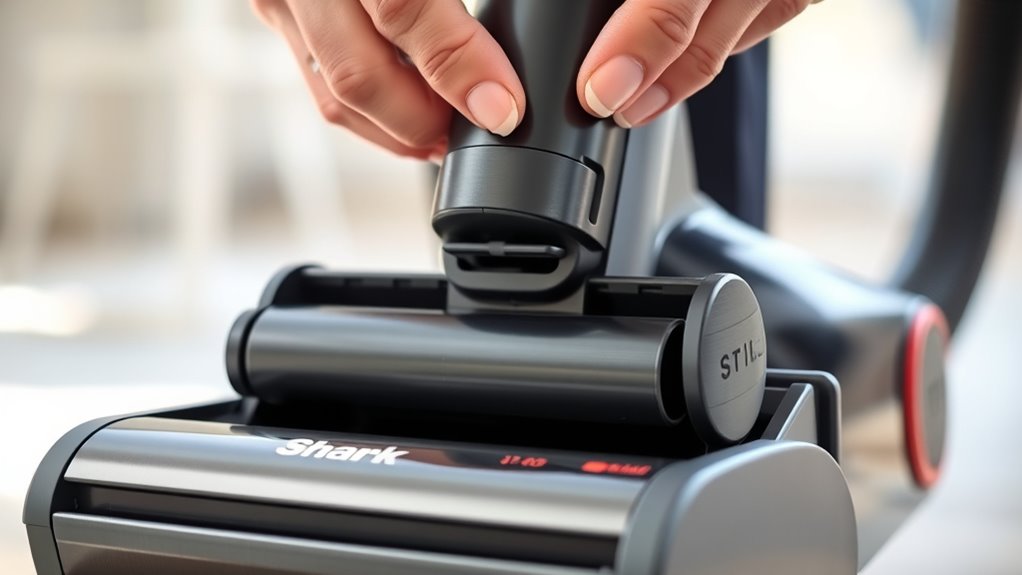
How to Remove Roller From Shark Vacuum in 7 Easy Steps
To remove the roller from your Shark vacuum, first power it off and unplug it for safety. This step is crucial before starting any maintenance on your vacuum.
Position the vacuum on its side to get easy access to the roller and other components.
Next, grab a flat-head screwdriver to gently release the orange roller clip. Then, remove the screws securing the sole plate using a T15 or T20 screwdriver. It’s pretty straightforward once you have the right tools.
Carefully lift the sole plate and disconnect any electrical plugs you see.
After that, unscrew the motor components that hold the brush roll in place.
Finally, lift out the brush roll and take a moment to check the belt alignment. Doing this right will help keep your Shark vacuum running smoothly.
Keep going to uncover detailed tips for smooth reassembly and peak operation.
Key Takeaways
- Power off and unplug the Shark vacuum. Then, place the floor tool on its side so you can easily access the roller clip.
- Use a flat-head screwdriver to gently release the orange roller clip that’s holding the brush roll in place.
- Next, remove the screws holding the sole plate using a T15 or T20 torque screwdriver. Carefully lift off the sole plate once the screws are out.
- There might be some electrical connectors near the motor. Disconnect them using a plastic pry tool to avoid causing any damage.
- Finally, lift the brush roll out. Make sure the belt comes off the motor pulley and cog smoothly so everything comes out easily.
Get the Right Tools to Remove Your Shark Vacuum Roller
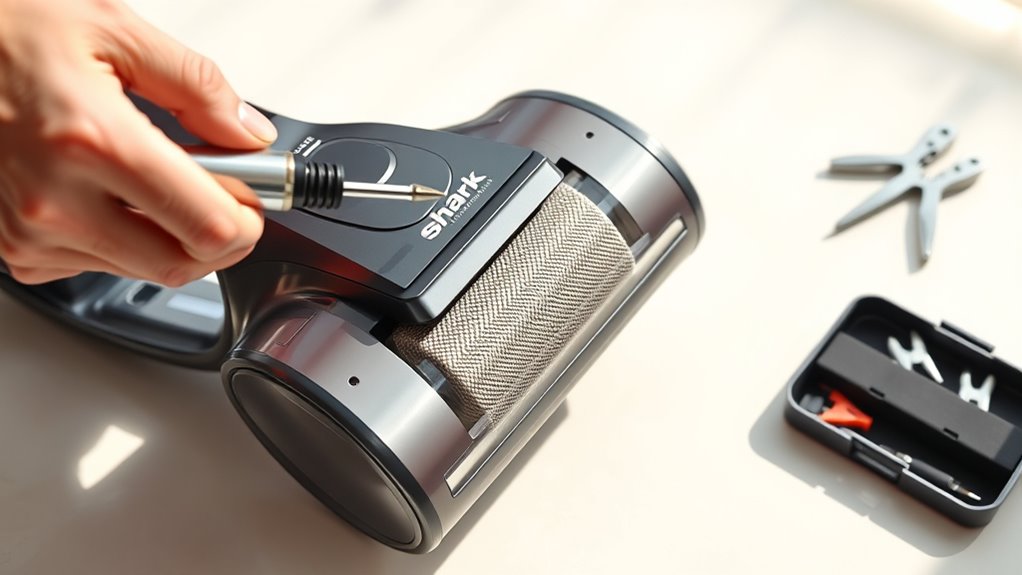
Before you begin, make sure you have the right tools on hand to remove your Shark vacuum roller safely and efficiently. Using the proper tools prevents damage and makes the process smoother.
You’ll need T15 and T20 torque screwdrivers to remove the screws that hold the roller and its internal components in place. A cross-head screwdriver is also essential for taking off plastic screw covers and some fasteners.
Don’t forget a coin—it can be surprisingly handy for unlocking plastic clips or covers during disassembly. Having the correct screwdriver sizes is crucial because using the wrong ones can strip screws or damage plastic parts.
Power Off and Position Your Shark Vacuum for Disassembly
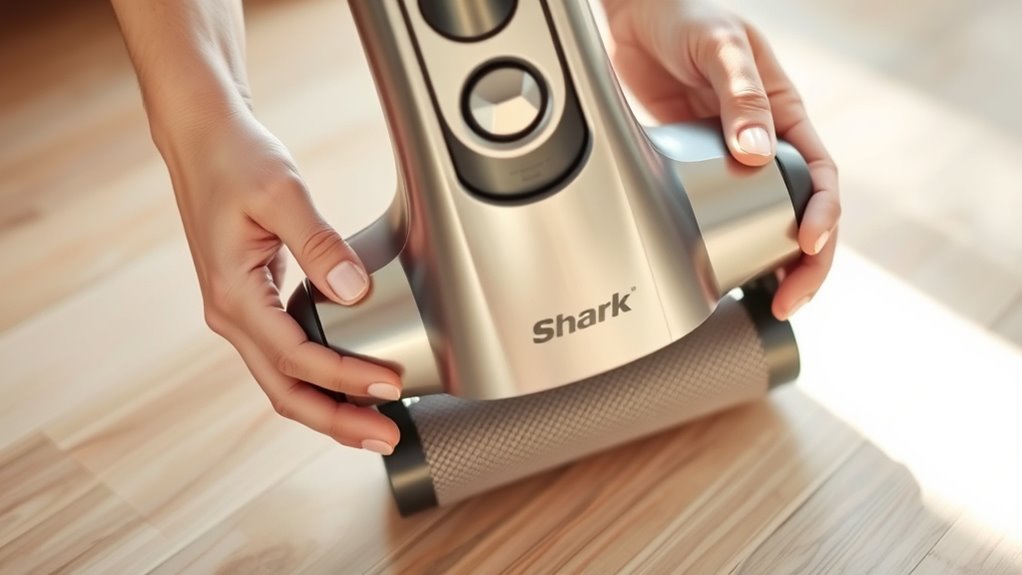
To safely begin removing your Shark vacuum roller, make sure the vacuum is unplugged from the power source and turned off. Power off the unit completely to avoid any accidental starts during disassembly.
Once powered off, lay your Shark vacuum on a flat, stable surface with the floor tool facing upward. This position gives you easy access to the roller area, making the removal process smoother and safer.
Next, turn the floor tool onto its side to access the sole plate and internal components without hassle. Ensuring the vacuum is stable and won’t move while you work is crucial for both your safety and the vacuum’s protection.
Taking these steps to power off and position your Shark vacuum properly sets the stage for a successful roller removal, minimizing the risk of damage or injury. Now that your vacuum is safely positioned and powered off, you’re ready to move on to the next step in disassembly.
Release the Orange Roller Clip on Your Shark Vacuum
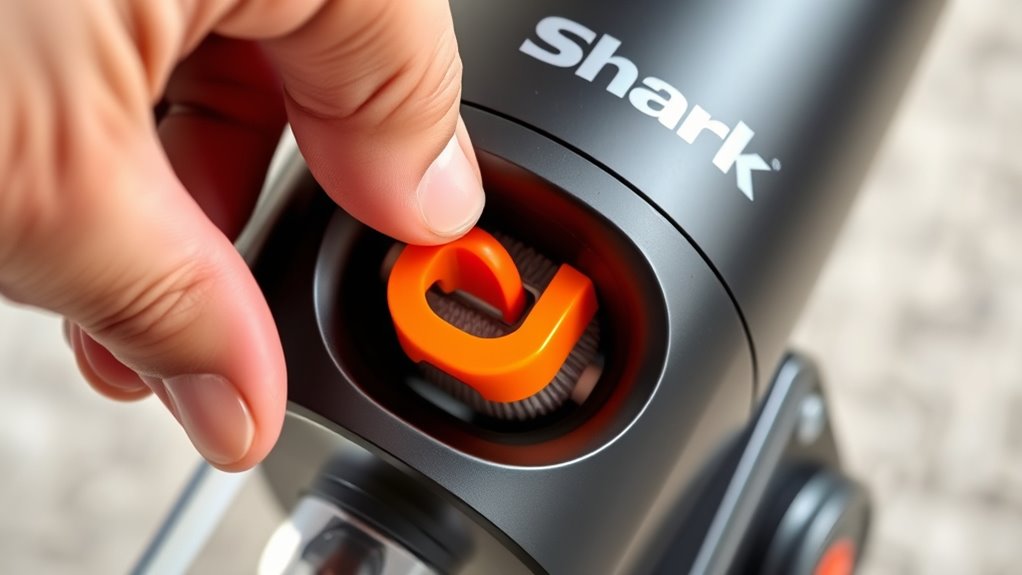
How do you release the orange roller clip on your Shark vacuum? First, turn the floor tool on its side to get easier access to the clip.
The orange roller clip secures the brush roll, so you need to release it before you can remove the roller. Take a flat-head screwdriver and gently insert it under the clip.
Carefully press or slide the clip to disengage it from the floor tool. Be sure to avoid damaging the plastic while doing this.
You’ll know the clip is fully released when it moves freely and no longer holds the brush roll tightly in place. Releasing the clip completely is essential to allow smooth removal and reinstallation of the brush roll later on.
Once the orange roller clip is released, you’re ready to proceed with the next steps of removing the roller safely and efficiently.
Remove Screws and Carefully Lift the Sole Plate
Once you’ve released the orange roller clip, grab a T15 or T20 torque screwdriver to remove the screws securing the sole plate on your Shark vacuum’s floor tool. Removing these screws is crucial before you can lift the sole plate safely.
Follow these steps to remove and lift the sole plate without causing damage:
Follow these steps to safely remove and lift the sole plate without causing any damage.
- Turn the floor tool on its side for better access and leverage.
- Carefully remove all screws using your torque screwdriver.
- Gently lift the sole plate, watching out for any plastic clips or lugs that might break.
- Set the sole plate aside in a safe place to avoid damage during further disassembly.
Be cautious not to pull too hard as there may be electrical wiring connected underneath. By removing the screws and lifting the sole plate carefully, you’ll be ready for the next steps in removing the roller from your Shark vacuum.
Disconnect Electrical Plugs and Unscrew Motor Components
Before disconnecting any electrical plugs, make sure your Shark vacuum is unplugged from the power source to avoid electric shock. Next, carefully locate the electrical connectors on the motor or circuit board.
To disconnect them safely, use a plastic pry tool if needed, and avoid pulling directly on the wires to prevent damage. Take note of each plug’s orientation and position so you can reconnect them correctly later.
Once the electrical plugs are disconnected, use the appropriate screwdriver—typically a T15 or T20 torque driver depending on your model—to unscrew the motor mounting screws. Handle all components gently to avoid harming delicate parts.
Remove the Brush Roll and Align the Belt and Cog
After you’ve detached the motor components, carefully lift the brush roll out of the vacuum. Make sure the belt disengages from both the cog and motor pulley.
Once motor parts are removed, gently lift the brush roll, ensuring the belt slips off the cog and pulley.
Now, it’s essential to align everything properly to avoid future issues with belt slipping or misalignment.
Follow these steps to remove the brush roll and align the belt and cog:
- Gently lift the brush roll out, ensuring the belt comes off the cog and motor pulley without damage.
- Check that the belt is correctly aligned on the brush roll, cog, and motor pulley before reinstalling.
- Position the belt over the cog and motor pulley, making sure it sits snugly and isn’t twisted.
- Rotate the brush roll manually to verify it moves smoothly and the belt stays aligned during operation.
Reassemble Your Shark Vacuum Roller and Test It
Although reassembling your Shark vacuum roller may seem straightforward, paying close attention to alignment and connections guarantees peak performance. Start by making sure the brush roll is properly aligned with the belt and motor before securing it in place. This alignment is vital to prevent slipping and maintain smooth rotation.
Next, reattach the sole plate, making sure the lugs fit correctly and lie flat to avoid gaps that could reduce suction. Don’t forget to reconnect any electrical wires, such as the headlight wiring, confirming they’re securely attached.
Once everything is in place, test the vacuum by turning it on to verify the brush roll spins smoothly and functions as it should. Finally, check that the roller clip releases and locks smoothly, confirming that you’ve fully and correctly reassembled your Shark vacuum roller.
Taking these careful steps will guarantee your vacuum runs efficiently and lasts longer.
Frequently Asked Questions
How Do I Get the Roller off My Shark Vacuum?
You’ll first unplug your Shark vacuum, remove the floor tool, then unscrew the sole plate.
Next, disconnect the electrical plugs, unscrew the motor and brush bar.
Carefully lift the roller off without damaging the belt. Easy, right? Just take it slow and steady!
How to Detach Shark Vacuum Head?
You detach the Shark vacuum head by unplugging the vacuum and laying it on its side. Next, release the roller clip and unscrew the sole plate.
After that, disconnect the electrical plugs and carefully remove the screws securing the motor and brush bar assembly. It’s a bit of a process, but taking it step by step makes it easier.
How Do I Remove the Brush Roller From My Vacuum?
Like revealing a secret passage, you’ll unplug your vacuum and unscrew the sole plate. Then, release the roller clip and detach the connectors.
After that, gently lift the brush roller out—just like revealing hidden treasure beneath the surface. Easy, right?
How to Remove Roller Brush From Shark Navigator Lift Away Vacuum Youtube?
You can find a detailed YouTube tutorial by searching “remove roller brush Shark Navigator Lift Away.”
Follow the step-by-step video, unplug the vacuum, remove screws, disengage clips, and gently lift the roller brush out safely.
It’s pretty straightforward once you see it done. Just take your time and be careful not to force anything.
Conclusion
Now that you’ve carefully removed the roller, imagine the satisfying click as you release each clip and screw. It’s like revealing the heart of your Shark vacuum, piece by piece.
Feel the thrill of disconnecting those plugs, the brush roll slipping free in your hands. There’s something rewarding about seeing it come apart so easily.
As you align the belt and cog, picture the smooth motion returning. It’s all about getting everything back just right.
Reassemble everything, and with a push of a button, watch your vacuum roar back to life. Your Shark vacuum is now ready to conquer every mess once again.
Removing the roller from your Shark vacuum doesn’t have to be tricky. By following these simple steps, you keep your vacuum running smoothly and efficiently. Regular maintenance like this ensures your Shark vacuum performs at its best every time you need it.





5 Comments