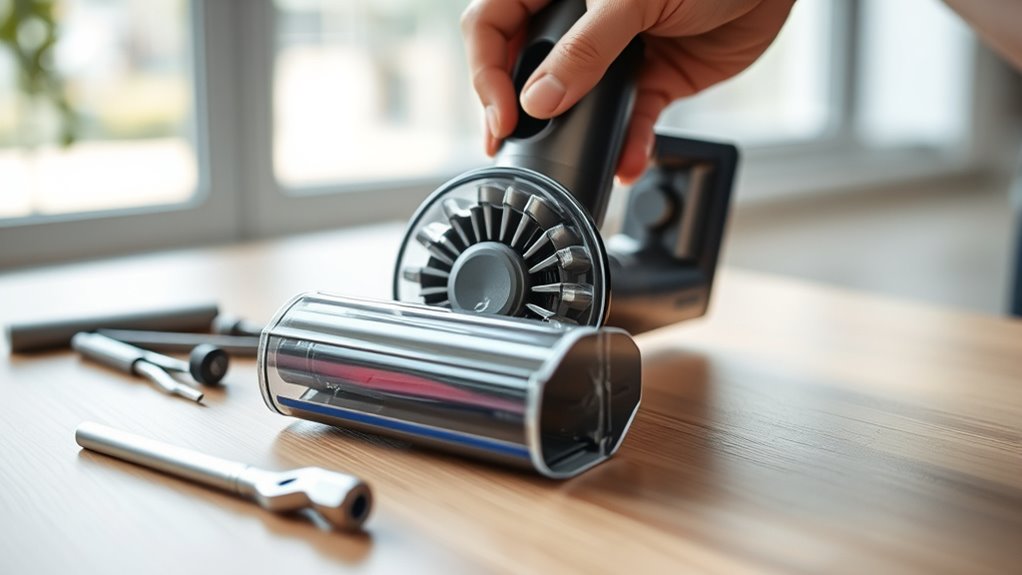
How to Take Apart Dyson Vacuum Head in 7 Easy Steps
To take apart your Dyson vacuum head, first unplug it for safety.
Then, grab a coin and twist off the end cap gently. This will give you access to the internal parts.
Next, carefully pry off the red clip strip to reach dust and other components inside.
After that, unscrew the back panel to reveal the motor wiring.
Make sure to disconnect the motor wiring before removing the motor end piece.
Once the motor is out, remove the brush bar and give it a thorough cleaning.
It’s important to dry all parts completely to avoid any damage.
Finally, reassemble everything securely, making sure all parts are aligned properly.
Test your vacuum head to ensure it operates smoothly.
Keep following along for a detailed breakdown of each step!
Key Takeaways
- Unplug the vacuum and remove the end cap by turning it counterclockwise with a coin. This step helps you get started without any power running through the machine.
- Pry off the red clip strip to access the dust collection area and internal components. It might take a little gentle force, but you’ll get it off.
- Use a Torx T8 screwdriver to remove screws from the back panel and detach it carefully. Keep those screws safe because you’ll need them later.
- Disconnect motor wiring clips, remove the motor end piece, and twist off the brush bar end cap. Take your time here to avoid damaging any wires.
- Clean and soak brush bar parts, then reassemble by securing all clips, screws, and wiring properly. Once everything’s clean and dry, put it all back together just like it was before.
Remove the End Cap of the Vacuum Head
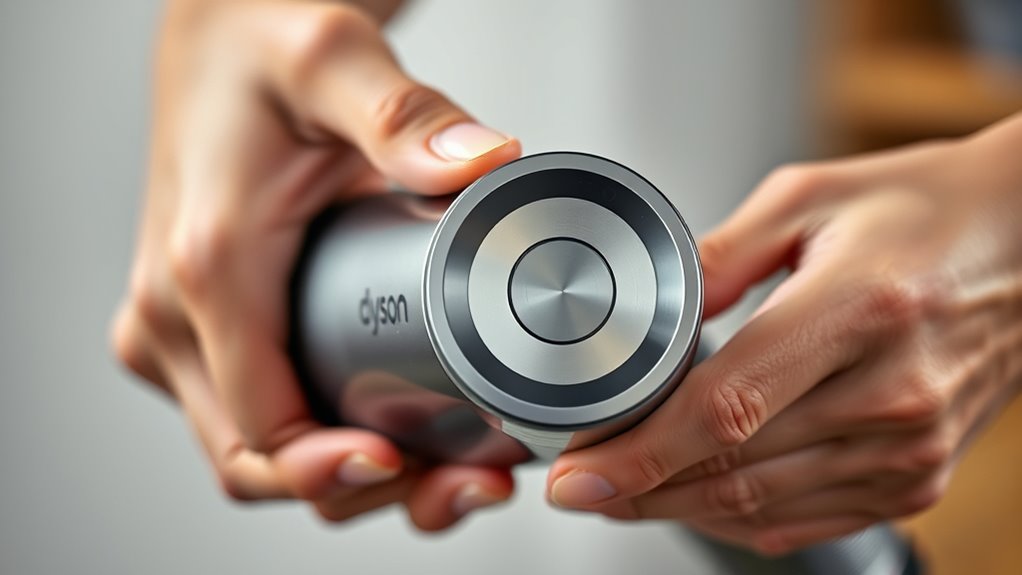
Before you begin, make sure the vacuum is unplugged to avoid any accidents. To remove the end cap of your Dyson vacuum head, locate the locking mechanism securing it in place.
Use a coin or flat tool to unlock the end cap by turning it counterclockwise. This unlocking step disengages the cap, allowing you to carefully pry it off without damaging the surrounding parts.
Once removed, you’ll gain access to the brush bar and other internal components. Take a moment to inspect these parts for any debris or damage that could affect performance.
Handling the end cap gently during removal is crucial to avoid breaking clips or scratching the vacuum head. After your inspection or maintenance, you can reattach the end cap by aligning it correctly and turning it clockwise until it locks securely.
This process ensures your vacuum head functions smoothly and stays in good condition. Easy, right? Just take your time and you’ll be all set.
Pry Off the Red Clip Strip to Access Dust Collection
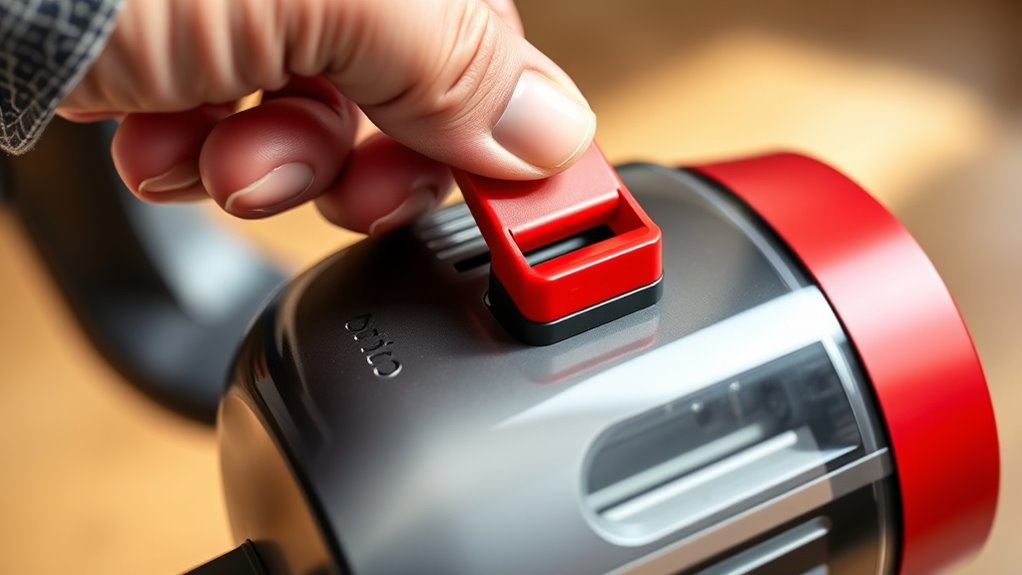
Use a flathead screwdriver to gently pry off the red clip strip, starting at one end. This will expose the dust collection area beneath for easy cleaning.
Be careful not to break the clips so you can reattach the strip properly later. Just take your time with it, and you’ll be all set.
Removing The Red Clip
Wondering how to access the dust collection area inside your Dyson vacuum head? Start by removing the red clip strip carefully—it’s the key to getting inside.
Use a flathead screwdriver to gently pry the red clip from one end, making sure you don’t damage it. The red clip is securely fastened with clips, so you’ll need to work along its length, applying gentle pressure to release it fully.
Here’s how to proceed:
- Position the screwdriver under one end of the red clip.
- Pry gently to unlock the clip without bending or breaking it.
- Slide the screwdriver along the strip, releasing each secure clip as you go.
Just make sure the red clip is completely detached before moving on to avoid any damage.
Exposing Dust Collection
How exactly do you get to the dust collection area inside your Dyson vacuum head? Start by carefully removing the red clip strip along the vacuum head’s edge with a flathead screwdriver. Pry gently in sections to avoid breaking the clip strip.
Once removed, the dust collection components underneath will be exposed. This makes maintenance or cleaning much easier.
| Step | Tool Needed | Caution |
|---|---|---|
| Pry Off Red Clip | Flathead screwdriver | Work gently, avoid damage |
| Expose Dust Area | None | Handle dust collection parts carefully |
| Reinstall Clip Strip | None | Align and press until it snaps |
Removing the red clip strip is key to accessing the dust collection area safely and efficiently. Just take your time and be gentle with the clip!
Unscrew and Remove the Back Panel to Access Internal Parts
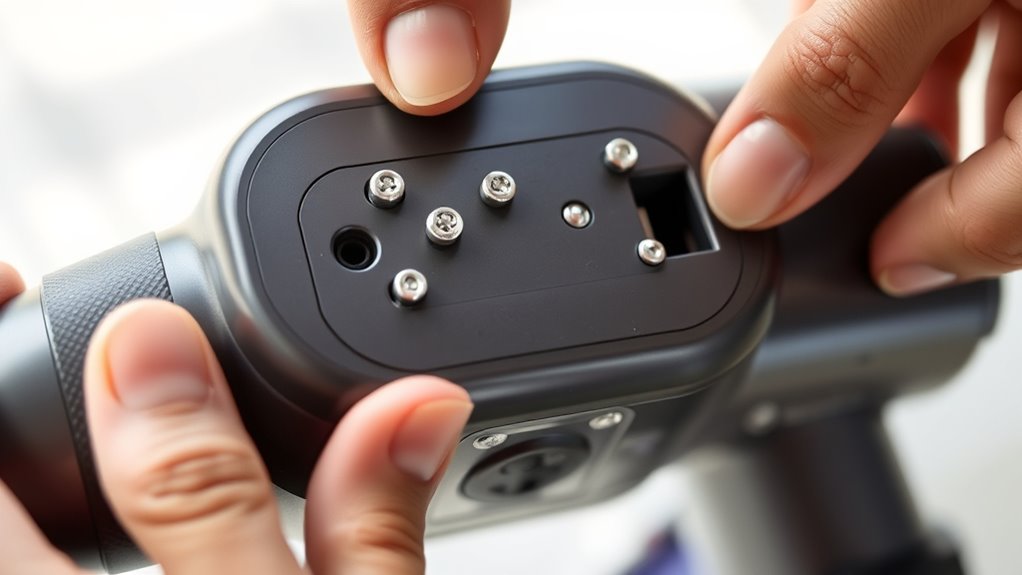
Grab your Torx T8 screwdriver and remove the two screws at each corner plus the three across the back panel’s front.
Once all screws are out, carefully lift the back panel away, making sure no clips are still holding it.
Keep track of any wiring harnesses and note alignment notches to make reassembly easier.
It’ll make putting everything back together a lot less stressful!
Removing Securing Screws
Where should you start when removing the back panel of your Dyson vacuum head? Begin by locating and removing the screws that secure the back panel.
Use a T8 screwdriver to carefully unscrew and remove them without damaging any parts. It’s important to be gentle here.
Follow these steps:
- Remove the two screws at each corner of the back panel.
- Unscrew the three screws along the front edge of the back panel.
- Keep all screws in a safe place for reassembly. You’ll want to make sure none get lost!
Lifting Off Back Panel
What’s the best way to lift off the back panel after removing the screws? First, use a Torx T8 screwdriver to unscrew the two screws at each corner. Then, remove the three screws along the front of the back panel to release it completely.
Once all screws are out, carefully lift the back panel away from the vacuum head, making sure no clips remain engaged. Before fully removing the panel, disconnect any wiring connected to the internal parts to avoid damage.
Handle the back panel gently and place it in a safe spot while you access the vacuum’s internals. Following these steps ensures you remove the back panel safely and gain clear access to the components inside.
Disconnect Motor Wiring and Remove Motor End Piece
Before you can remove the motor end piece, you’ll need to disconnect the wiring from the electric motor inside the vacuum head. Start by locating the wiring connections and carefully prying off any clips that hold them using a flathead or Torx T8 screwdriver.
Next, find the small screw hidden under the sticker separating the plastic part from the motor stem and remove it to free the end piece.
Locate and remove the small screw hidden beneath the sticker to release the motor end piece.
Once the wiring is disconnected and the screw removed, gently twist the motor end piece to loosen it from the main assembly. Then, carefully pull the end piece away while keeping an eye on the wiring to avoid damage.
Make sure no clips or wires are still attached before fully extracting the end piece.
Taking these steps will help you safely disconnect the wiring and remove the motor end piece, preparing the vacuum head for further disassembly.
Remove and Clean the Brush Bar and Internal Plastic Parts
Although the motor end piece is now removed, you’ll need to release the brush bar by using a coin to twist off the end cap on the floor tool. Once the end cap is disengaged, pry off the red clip strip carefully with a screwdriver to access the brush bar and internal plastic parts.
Lift out the brush bar gently, making sure to clean all hair and debris from its grooves and bearings. Next, disassemble the internal plastic parts by removing screws and clips.
Soak these components in warm soapy water, then use brushes to clean them thoroughly. After cleaning, reassemble the internal plastic parts and brush bar, ensuring every clip and screw is securely fastened.
This careful cleaning and reassembly will keep your Dyson vacuum head operating smoothly and efficiently. It’s worth taking your time here to get everything just right!
Dry All Parts Thoroughly Before Reassembly
After thoroughly cleaning the brush bar and internal plastic parts, you need to make certain they’re completely dry before putting everything back together. Moisture trapped inside can cause mold growth, electrical issues, or corrosion.
To avoid these problems, take your time drying each component fully before you reassemble the vacuum head.
Follow these steps to guarantee everything is dry:
- Air dry all plastic parts for at least 24 hours, especially if soaked in water or cleaning solutions.
- Use a microfiber cloth or soft cloth to wipe off any surface moisture.
- Employ compressed air to clear moisture from tight or hard-to-reach spots.
Confirm all parts are fully dry before reassembling. This prevents damage and helps maintain your Dyson vacuum’s performance.
Never rush this step by reassembling damp parts, as it risks long-term issues. Just be patient—it’s worth it!
Reassemble the Vacuum Head and Test Its Function
When you’re ready to reassemble the vacuum head, make sure all components are properly aligned and securely fastened to guarantee smooth operation. Start by clipping the clear plastic part and fitting the rubber tab on the wire connection before reattaching the back cover.
Secure the motor clips firmly and organize wiring neatly to avoid interference during reassembly. Next, reinsert the brush bar and lock the end cap with a coin to ensure it’s secure.
Tighten all screws sequentially, beginning from the back panel to the front to maintain proper alignment and stability. Once everything is in place, power on the vacuum to test its function.
Check for smooth swivel movement and verify the brush bar operates correctly. Taking these steps ensures your Dyson vacuum head is reassembled correctly and ready for efficient cleaning, preventing future issues caused by misalignment or loose parts.
Frequently Asked Questions
How to Disassemble Dyson Vacuum Head?
You start by opening the brush bar end cap with a coin, then pry off the red clip strip. After that, remove the screws carefully.
Next, disconnect the wiring and gently pull out the motor piece. Make sure to clean out any dust you find before putting everything back together.
When reassembling, secure all parts properly so your vacuum head works like new again.
How to Open the Dyson Vacuum Head to Clean?
You might think opening a Dyson vacuum head is tricky, but it’s actually pretty straightforward.
First, just remove the end cap with a screwdriver. Then, pry off the red clip and unscrew the back panel.
After that, disconnect the wiring to access the cleaning area. Easy, right?
How Do I Pull My Dyson Apart?
You’ll start by removing screws and prying off clips with a screwdriver. Disconnect wiring carefully, then twist and pull parts gently.
Take your time to avoid damage, and keep track of all components as you go. It’s easier if you work slowly and stay organized!
How to Take Apart a Vacuum Head?
Think of your vacuum head as a locked treasure chest. You’ll open its secrets by twisting caps, prying clips gently, unscrewing panels, and disconnecting wires.
Each step reveals the hidden components inside for cleaning or repair. It’s like uncovering little surprises one by one. Just take it slow and steady—you’ll get there!
Conclusion
Now that you’ve learned how to take apart your Dyson vacuum head, you’re ready to keep it running smoothly. Did you know that regular cleaning can boost your vacuum’s efficiency by up to 50%? Taking a few minutes to maintain your vacuum not only extends its life but also improves your home’s air quality.
So, don’t skip those easy steps—you’ll enjoy a cleaner, healthier space with less effort! Keeping your Dyson vacuum head clean helps prevent clogs and keeps the suction strong. Plus, regular maintenance means fewer repairs and a longer-lasting vacuum.
By following these simple cleaning and maintenance tips, you’re making sure your Dyson vacuum performs at its best. It’s all about making your cleaning routine easier and more effective, so you can spend less time worrying and more time enjoying a spotless home.