How to Change Miele Vacuum Bag in 10 Easy Steps
To change your Miele vacuum bag in 10 easy steps, start by matching the vacuum bag type to your specific Miele model. Always unplug the vacuum before you begin to ensure safety.
Next, open the dust compartment by pressing the release button. Carefully remove the full vacuum bag to avoid spreading dust around your home.
Seal the used bag tightly and dispose of it properly to keep things clean.
Then, insert a new genuine Miele vacuum bag, making sure to align it correctly. Secure the bag until you hear a satisfying click.
Close the dust compartment lid gently to avoid damage.
Check the airflow indicator to see if the vacuum is working efficiently.
If needed, replace the filters to maintain optimal suction power.
Keep following these steps and tips to master Miele vacuum maintenance for lasting performance.
Key Takeaways
- Turn off and unplug the vacuum before opening the dust compartment to ensure safety.
- Press the release button and gently lift the lid until it clicks fully open.
- Carefully grasp and pull out the full bag by its collar. Then, seal it in a plastic bag for disposal.
- Align the new bag’s collar with the guide rails. Push it until it clicks securely in place.
- Close the dust compartment lid gently until it clicks. After that, check the airflow indicator to make sure the bag is installed properly.
How to Choose the Right Miele Vacuum Bag
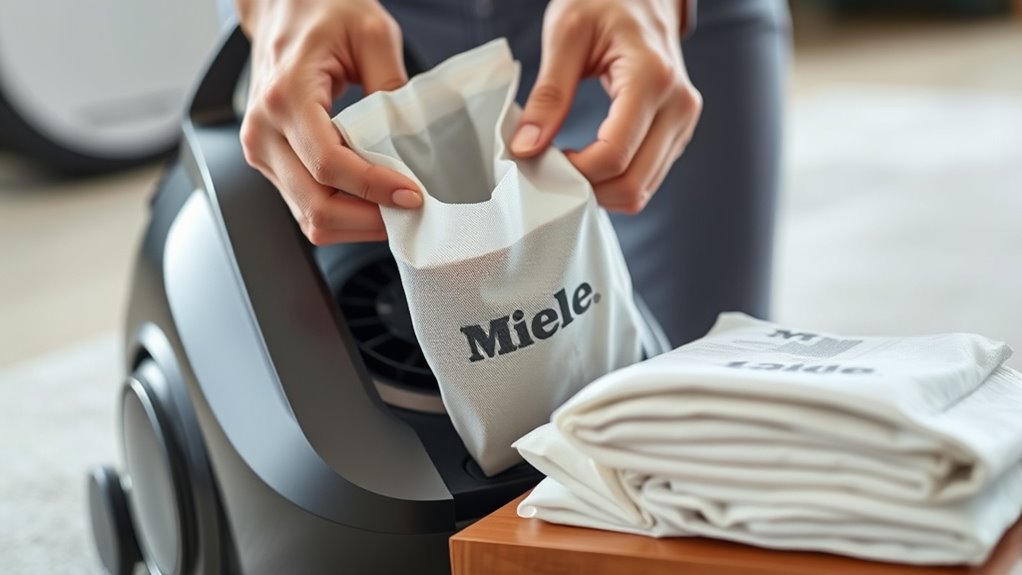
How do you guarantee you pick the right vacuum bag for your Miele cleaner? Start by focusing on genuine Miele dust bags, as they’re specifically designed for your vacuum’s peak performance. Avoid generic alternatives that might not fit properly or reduce suction power.
Check your vacuum’s model number carefully and match it with the bag’s colour-coded collar—this simple step ensures perfect model compatibility. Genuine Miele dust bags come in types like GN and FJM, each tailored to particular models.
Match your vacuum’s model number with the bag’s colour-coded collar for perfect compatibility and performance.
Before purchasing, verify the bag type and size to avoid mistakes. Always buy from authorized suppliers such as Statewide Appliance Spares to assure authenticity and quality.
By doing this, you protect your vacuum’s efficiency and extend its lifespan. Remember, the right vacuum bag isn’t just about fit; it’s about maintaining the powerful cleaning your Miele promises.
When to Change Your Miele Vacuum Bag

Picking the right Miele vacuum bag guarantees your cleaner works at its best, but knowing when to change that bag keeps it running smoothly. You should replace your vacuum bags as soon as the airflow indicator turns fully red, signaling the bag is full and airflow is restricted.
If you notice reduced suction power or unusual noises, these are clear signs it’s time to replace the bag. Don’t wait for the indicator alone—regularly inspect the dust compartment or open the lid to visually check if the bag looks overstuffed.
Remember, these bags are designed for single use and should be disposed of once full; reusing them can harm performance. To maintain peak vacuum efficiency, check the bag every three months even if the indicator hasn’t turned red.
Keeping an eye on these signs ensures your vacuum runs efficiently and prolongs its lifespan. It’s a simple step that goes a long way in making sure your Miele vacuum stays in top shape!
Prepare Your Vacuum and Workspace for Bag Replacement
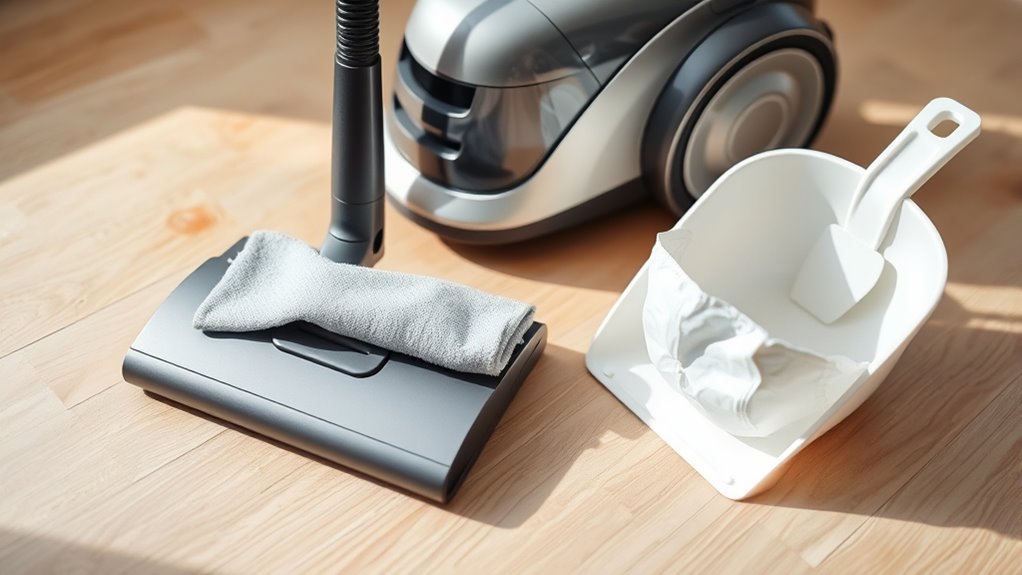
Before you start replacing the vacuum bag, make sure to turn off and unplug your Miele vacuum to keep the process safe. Next, gather the correct genuine Miele dust bag that fits your vacuum model, like the GN or FJM type.
Always unplug your Miele vacuum and use the correct genuine dust bag before replacing it.
Clear a clean, flat workspace nearby where you can comfortably handle the old bag without spreading dust. This area will also be useful for disposing of the used bag properly.
Wearing gloves or washing your hands afterward helps avoid contact with dust and allergens. Keep a soft cloth or brush handy to clean the dust compartment if needed before inserting the new bag.
Preparing your vacuum and workspace this way guarantees a smooth, safe bag replacement while minimizing mess and exposure to dust. Taking these steps sets you up for a hassle-free process and helps maintain your vacuum’s performance.
Open the Dust Compartment Properly
First, locate the release button for the dust compartment lid and press it to unfasten.
Then, gently lift the lid until you hear it click open. Make sure the lid is fully open before moving on to the next step.
It’s pretty simple once you get the hang of it! Just take your time and be gentle with the lid.
Locate Release Button
Where exactly is the release button on your Miele vacuum? You’ll usually find it near or directly on the dust compartment lid.
Before you try to open the dust compartment, make sure your vacuum is unplugged for safety. Then, press or lift the release button to disengage the lid smoothly.
This button is designed to help you open the dust compartment without forcing it, which avoids damage to the lid or other parts. Using the release button is essential for proper maintenance and guarantees your vacuum stays in good shape.
Lift Dust Compartment Lid
Once you press the dust compartment lid release button, gently lift the lid until it clicks open. Make sure not to force it and risk damage.
The dust compartment lid is designed to open smoothly, giving you clear access to the vacuum bag inside. As you lift, be mindful of the automatic flap on the FilterBag—it should close securely to prevent dust from escaping.
Keep the lid fully open to create enough space for you to easily remove the old vacuum bag and insert a new one. Handling the dust compartment lid carefully is important to avoid trapping or damaging the FilterBag when opening or closing.
This way, your vacuum keeps working efficiently and dust stays contained.
Ensure Lid Clicks
Although you’ve lifted the dust compartment lid, you need to make certain it clicks fully open before replacing the vacuum bag. This click ensures the lid is securely held in place, giving you easy access to the bag without it slipping or falling.
When you finish replacing the bag, close the lid gently and listen for a secure click. This confirms the lid is properly aligned and latched, preventing dust from escaping and maintaining ideal vacuum performance.
Avoid forcing the lid closed if it doesn’t click, as this can trap the bag or damage the vacuum. Properly positioning the FilterBag and aligning the lid will help the lid click securely into place every time.
This way, you’ll keep your Miele vacuum running smoothly without any hassle.
Remove the Full Vacuum Bag Without Mess
How can you remove the full vacuum bag without creating a mess? Start by gently opening the dust compartment lid and waiting for the self-closing flap to seal automatically. This seal prevents dust from escaping while you work.
Next, carefully grasp the collar of the full bag and pull it out slowly to minimize dust dispersal. Handle the bag only by its collar to avoid contact with dust inside.
Follow these steps for a clean removal:
- Open the dust compartment slowly and let the flap seal.
- Pull out the full bag by its collar with steady, gentle motion.
- Immediately seal the full bag in a plastic bag before disposal.
Finally, toss the sealed full bag in the trash to keep dust and allergens contained. By doing this, you’ll keep your space clean and avoid any dust escaping during the process. Easy, right?
Insert the New Miele Vacuum Bag Correctly
Start by aligning the collar of the new Miele vacuum bag with the guide rails inside the dust compartment. Make sure the bag is flat and fully seated.
It should click securely into the holder without any twists or folds. Then, close the compartment lid carefully.
You want to avoid trapping or obstructing the bag while closing it. That’s it! Your vacuum is ready to go.
Align Collar Properly
Before inserting the new Miele vacuum bag, make sure you align the collar with the guide rails inside the dust compartment. Proper alignment is essential for a smooth installation and to prevent dust leaks.
Here’s how to get it right:
- Look for arrows on both the collar and the compartment to guide your alignment.
- Gently push the collar into place until you hear a click, confirming proper installation.
- If you feel resistance, don’t force it—remove the bag and realign the collar carefully.
Secure Bag In Holder
Once you’ve aligned the collar with the guide rails, gently push the new Miele vacuum bag into the holder until it clicks securely in place. Make certain the bag is fully seated without unfolding or creasing it. This guarantees ideal airflow and prevents dust from escaping.
Confirm the flap closes automatically, sealing the dust inside. A properly secured vacuum bag in the holder guarantees efficient performance and cleanliness.
| Step | Action | Tip |
|---|---|---|
| 1 | Align collar with rails | Check guide rails carefully |
| 2 | Insert bag into holder | Push until you hear a click |
| 3 | Confirm flap closes | Ensure automatic closing |
| 4 | Avoid creasing bag | Keep bag flat during insert |
| 5 | Check bag is secure | Prevents dust escape |
Avoid Bag Obstruction
How can you guarantee your new Miele vacuum bag doesn’t get obstructed during installation? Proper installation is key to maintaining proper airflow and avoiding blockages when the bag is full.
Follow these steps to insert the bag correctly:
- Align the collar of the bag carefully with the guide rails to ensure it fits smoothly and doesn’t catch.
- Push the bag fully into the holder until it clicks, confirming it’s securely seated without any protrusion.
- Check that the bag’s flap closes automatically and isn’t caught when you close the dust compartment lid—never force the lid shut.
Secure the Bag and Close the Dust Compartment Lid
Where should you position the filter bag to guarantee it stays secure? Make sure the filter bag is fully seated and clicked into its holder inside the dust compartment. This step is vital to secure the bag properly and prevent it from dislodging during use.
Once the bag is in place, check that the automatic flap on the FilterBag closes correctly to avoid dust escaping when you close the lid.
When you close the dust compartment lid, do so gently until you hear it click into place, confirming it’s securely latched. Don’t force the lid if it resists or doesn’t close easily—forcing it can damage the vacuum or cause dust leaks.
Also, confirm the bag isn’t trapped between the lid and the compartment, as this can prevent a proper seal. By securing the bag correctly and closing the lid carefully, you maintain your vacuum’s performance and keep dust contained effectively.
Check the Airflow Indicator After Replacing the Bag
After replacing the bag, check the airflow indicator to make sure it’s not showing red. Red means the bag is full or clogged.
A clear or green indicator tells you the airflow is good and the bag is properly installed. If it still shows red, double-check that the bag is seated correctly and fully clicked in place. Just make sure everything is snug and secure!
Airflow Indicator Function
Although you’ve just replaced the vacuum bag, you should always check the airflow indicator to confirm it’s no longer showing red. The airflow indicator measures how much air passes through the filter bag, signaling when the bag is full and needs to be replaced.
This visual cue helps you maintain maximum vacuum performance and avoid overfilling. Here’s what you should know about the airflow indicator function:
- When full, the indicator turns completely red, showing it’s time to replace the bag.
- After you replace the bag, the indicator should reset and no longer show red.
- If the indicator remains red, check for blockages or airflow issues beyond just the bag.
That way, you guarantee your Miele vacuum runs smoothly every time.
Interpreting Indicator Signals
Whenever you replace the vacuum bag, make sure you check the airflow indicator to confirm it no longer shows red. The airflow indicator lets you know if the bag replacement was successful by measuring the air passing through the filter bag.
If the indicator stays red, it means the bag might not be installed correctly or is still full. This can cause suction loss, which you definitely want to avoid.
A clear or green indicator signals proper airflow and that the bag is ready for use. Regularly monitoring this indicator helps you avoid reduced cleaning efficiency and keeps your vacuum running smoothly.
After every bag replacement, use the airflow indicator as your guide. This way, you guarantee ideal suction and maintain your vacuum’s performance.
Inspect and Replace Your Vacuum Filters
Since your vacuum’s filters play a crucial role in maintaining suction and air quality, you should regularly inspect the motor protection and exhaust filters for dirt buildup. Dirty filters restrict air flow, reducing your vacuum’s performance.
Regularly check your vacuum’s filters to prevent dirt buildup and maintain optimal suction and air quality.
To keep your Miele vacuum running smoothly, follow these steps:
- Check both filters every time you replace the dustbag or as the manufacturer recommends.
- Use genuine Miele filters to guarantee a proper fit and peak filtration.
- When you replace the filters, insert them correctly to avoid blocking air flow and make sure the compartment closes securely.
Don’t forget to activate the Timestrip® indicator on the Active AirClean filter to track replacement time—usually after 50 hours or once a year. Replacing your filters on schedule and with authentic parts helps maintain strong suction and clean air.
This makes your vacuum more efficient and prolongs its life. So, keeping up with filter care really pays off!
How to Fix Common Problems After Changing Your Miele Vacuum Bag
If your Miele vacuum isn’t performing well after changing the bag, start by making sure the filter bag is fully seated and clicks into place. This guarantees proper vacuum seals and prevents loss of suction.
Next, check that the dust compartment lid is securely closed and clicks firmly. An improperly closed dust compartment can disrupt airflow and reduce efficiency.
Take a moment to inspect hoses and pathways for blockages or damage that might be hindering performance. Also, verify the airflow indicator; if it shows a full bag warning immediately after replacement, the bag may not be installed correctly.
Finally, don’t forget to clean or replace your filters as recommended—clogged filters can cause poor suction even with a new bag. Addressing these common issues will restore your Miele vacuum’s power and keep it running smoothly after every bag change.
Frequently Asked Questions
How to Insert a Bag Into a Miele Vacuum?
You align the arrows on the new bag with the guide rails inside, then gently insert the collar until it clicks.
Make sure to tuck the bag properly, confirm the flap seals, and close the lid securely to finish. It’s pretty straightforward once you get the hang of it!
How to Change a Miele Complete c3 Vacuum Bag?
Changing your Miele Complete C3 vacuum bag isn’t rocket science—just open the dust compartment, pull out the old bag, snap in a new one, and close it.
Dust stays in; mess stays out. Easy, right?
How to Change Vacuum Bag on Miele Classic C1?
You’ll open the dust compartment, press the release button, and pull out the old bag gently.
Then, insert a new Miele bag aligned with the guides. Make sure it fits snugly before closing the lid securely.
And that’s it—you’re all set to go!
How Do I Know Which Miele Vacuum Model I Have?
You’ll find your Miele model number on a sticker inside the dust compartment or on the vacuum’s bottom.
Also, check the handle or body for branding.
Or, you can glance at your manual—these clues quickly reveal your exact model.
Conclusion
Changing your Miele vacuum bag is quick and simple when you follow these steps. Imagine Sarah, who kept delaying the change until her vacuum lost suction.
After swapping the bag and filters, her vacuum worked like new, making cleaning effortless again.
By staying on top of bag changes and maintenance, you’ll avoid clogs and keep your vacuum running smoothly.
So, don’t wait—replace that bag and enjoy a cleaner home today! Regularly changing your Miele vacuum bag is key to maintaining strong suction and prolonging your vacuum’s life. It helps prevent blockages and ensures your vacuum operates at its best. Plus, it’s an easy task that saves you from costly repairs down the line. Keep your cleaning routine hassle-free by changing your vacuum bag on time, and you’ll notice the difference in performance and air quality around your home.