
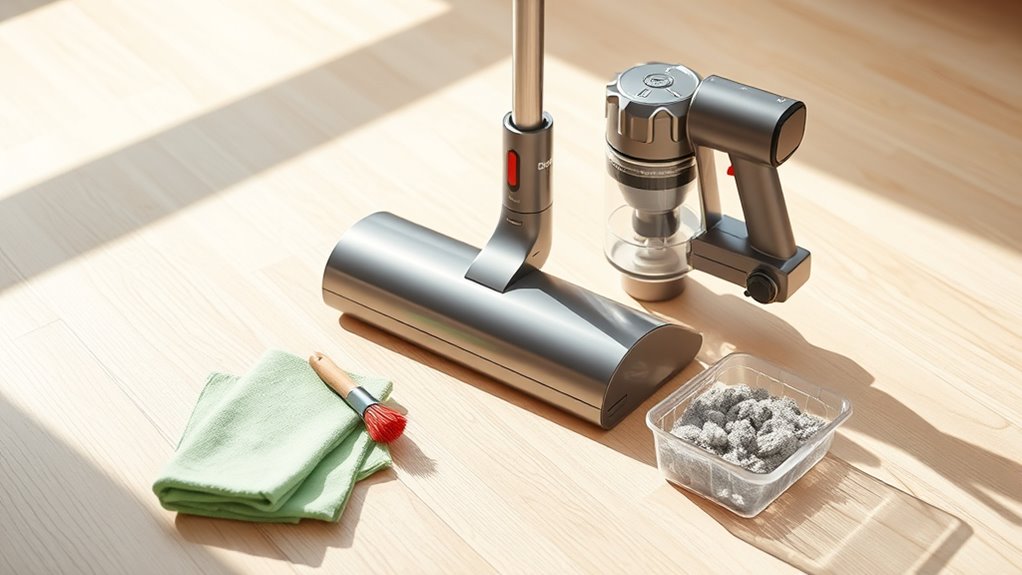
10 Easy Steps to Clean Your Dyson Vacuum
To clean your Dyson vacuum easily and keep it working at its best, start by emptying the bin once it hits the MAX line. Just press the red button and use the release lever to remove the dirt quickly. This simple step helps maintain strong suction power.
Next, remove the filter and rinse it under warm water. Let it dry completely for 24 hours before putting it back in. This keeps the vacuum running smoothly and prevents clogging.
Don’t forget to clear hair from brush bars and rollers. Wash them and let them air dry completely to avoid damage.
Wiping attachments and the exterior with a damp microfiber cloth finishes the job nicely.
Always make sure all parts are fully dry before reassembling your Dyson vacuum. Follow these easy steps, and you’ll enjoy better cleaning performance every time. There’s plenty more to learn for the best vacuum care!
Key Takeaways
- Empty the vacuum bin when it reaches the MAX line and clean it with a damp cloth. Make sure it’s completely dry before you put it back on.
- Remove and rinse the filter under warm water. Then, let it air dry in a ventilated area for at least 24 hours before reinstalling.
- Clear hair and debris from brush bars and rollers. Wash them under cold water, and let them air dry upright for 24 hours before you reassemble everything.
- Wipe the vacuum’s exterior, buttons, and vents gently with a damp microfiber cloth. Avoid harsh chemicals, and be sure to dry everything thoroughly.
- Fully dry all cleaned components in a well-ventilated area for 24 hours before reassembling. This helps prevent mold and keeps your vacuum working great.
How to Empty and Prepare Your Dyson Vacuum

To keep your Dyson vacuum running efficiently, you’ll want to empty the clear bin as soon as it reaches the MAX line. First, press the red button to disconnect the bin from the main vacuum.
Hold it downward and push the release lever to empty the bin, disposing of dust and debris into the trash. After emptying, clean the bin with a damp cloth—avoid submerging it in water or using detergents, which can damage the components.
Make sure to dry components thoroughly before reattaching to prevent mold growth and maintain hygiene. While you’re at it, wash the filter regularly as part of your cleaning routine.
Keeping the bin and filter clean guarantees peak performance and prolongs your vacuum’s life. By following these steps, you’ll effectively maintain hygiene and keep your Dyson vacuum operating at its best.
When and How to Empty the Dyson Vacuum Bin
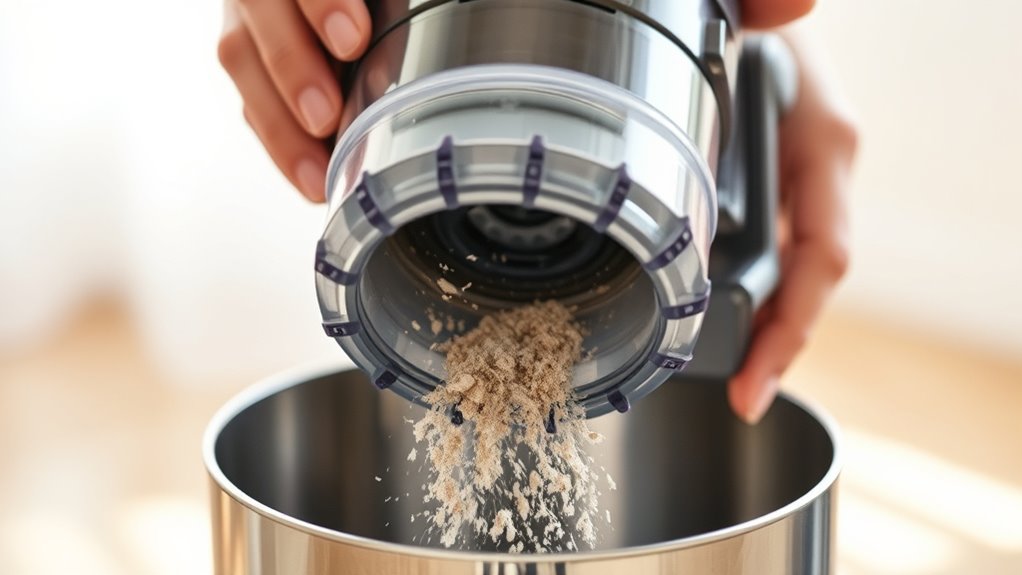
Whenever you notice the contents of your Dyson vacuum bin reaching the MAX line, it’s time to empty it to maintain strong suction power. Start by pressing the red button to release the vacuum bin and slide it away from the vacuum body.
Hold the bin downward over a trash bin, then push the release lever to open the bottom and let the debris fall out. This method keeps the process hygienic and minimizes contact with dust and dirt.
After emptying, wipe the inside of the vacuum bin with a damp, lint-free cloth to clean any remaining debris. Avoid submerging the bin in water or putting it in a dishwasher, as this can damage the unit.
Make sure the bin is completely dry before reattaching it to prevent mold growth and maintain your Dyson’s performance. Following these steps helps you keep your vacuum running efficiently and hygienically every time.
How to Remove and Wash Dyson Vacuum Filters

After emptying and cleaning the vacuum bin, the next step is to care for your Dyson’s filters. Begin with the removal by turning the filter counterclockwise until it releases from the vacuum.
Once removed, rinse the filter under warm, running water. Gently squeeze it to dislodge any debris trapped inside. Continue rinsing until the water runs clear, guaranteeing the filter is thoroughly clean.
Avoid using detergents or air fresheners, as these can damage the filter’s material. After rinsing, shake off excess water and place the filter in a warm, well-ventilated area for drying.
It’s essential to let the filter dry completely for at least 24 hours before reinstalling to maintain maximum performance. Proper drying prevents mold and keeps your vacuum running efficiently.
Once dry, refit the filter securely back into your Dyson. Regular filter maintenance like this helps extend your vacuum’s lifespan and guarantees strong suction with every use.
How to Clean Dyson Brush Bars and Rollers
To keep your Dyson working efficiently, start by removing hair and debris from the brush bars and rollers using scissors or your fingers. This helps clear out the stuff that can slow it down.
Next, wash them thoroughly under cold water to clear out any remaining dirt. Make sure to get all the gunk off so it runs smoothly.
Finally, let them dry completely for at least 24 hours before putting everything back together. Trust me, it’s worth the wait to avoid any damage.
Removing Hair And Debris
Since hair and debris can quickly wrap around your Dyson’s brush bars and rollers, you’ll want to remove them regularly to keep your vacuum running smoothly. Start by pushing up the end cap and sliding out the brush bar.
Use scissors or your fingers to carefully cut away and remove tangled hair, fibers, and debris to prevent the brush bar from becoming clogged. Just be gentle—avoid pulling forcefully to protect the motor.
For models with washable brush bars, rinse them under cold water to wash away any remaining dirt. After washing, gently squeeze out excess water and let the brush bar dry completely—usually at least 24 hours—before reassembling.
Making sure the brush bar is clean and dry keeps your Dyson’s suction strong and the cleaning performance *superior*. It’s a simple step that really makes a difference!
Washing Brush Bars
Keeping your brush bar free from hair and debris is just the first step—regular washing helps maintain its performance even more.
To clean the brush bar, first remove the end cap and slide out the roller or brush bar from the vacuum head. Rinse it thoroughly under cold water, using your fingers or a soft brush to remove any stuck debris, hair, or fibers.
For soft roller heads, open the end cap and wash the roller carefully, ensuring all debris is cleared. Avoid using detergents, polishes, or dishwashers during cleaning.
After rinsing, gently squeeze out excess water and let the brush bar air dry upright for at least 24 hours before you reassemble it. This simple routine keeps your Dyson’s brush bar working efficiently.
Drying And Reassembly
After thoroughly rinsing your Dyson brush bar or roller, you’ll need to dry it completely before putting it back together. Gently squeeze out excess water, then leave it to dry upright for at least 24 hours.
Avoid using a dryer or any heat source, as this can damage the components. Instead, just rely on air drying to make sure the brush bar and roller dry evenly.
While it’s drying, you can wipe surrounding parts with damp microfibre cloths, but never soak them. Make sure all components are completely dry before you reassemble.
Putting it back together while it’s still damp risks mold growth and damage to your vacuum. Taking the time to dry it properly ensures your Dyson performs at its best and helps extend the life of its brush bar and roller.
How to Clean Dyson Vacuum Attachments and Nozzles
When you detach your Dyson vacuum’s attachments and nozzles, you can rinse them under warm water to quickly remove dust, hair, and debris. This initial rinse helps dislodge most dirt clinging to the surfaces.
Use a small brush or cloth to clean inside crevices and around wheels, guaranteeing any trapped grime is removed. For stubborn grime, soak the nozzles in warm water mixed with a mild detergent, then rinse thoroughly to eliminate residue.
Proper cleaning of attachments prevents blockages and maintains your vacuum’s suction performance. After cleaning, make sure all parts are completely dry before you reassemble them; this step is essential to avoid damage or mold growth.
How to Dry Dyson Vacuum Parts Properly
You need to make sure all Dyson vacuum parts are completely dry before reassembling to avoid damage and maintain performance. Using an air compressor outside can help speed up drying for hard-to-reach areas.
Never plug in or use your vacuum until every component, especially filters, feels dry to the touch. It’s really important to be patient here — rushing can cause problems down the line.
Importance Of Thorough Drying
Ensuring every part of your Dyson vacuum is completely dry before reassembly is essential to avoid mold growth and motor damage. Thorough drying of washable components like filters and brush bars prevents moisture buildup that can lead to internal damage.
Proper maintenance includes allowing adequate drying time, usually air-dried for at least 24 hours, to ensure complete moisture removal. Neglecting this step risks mold prevention failure and reduced vacuum longevity.
Remember these key points:
- Always air-dry washable parts thoroughly
- Confirm no moisture remains before component reassembly
- Use moisture removal tools for hard-to-dry areas
- Avoid powering on until all electrical parts are dry
- Prioritize drying time to protect vacuum performance
Following these steps guarantees your vacuum stays efficient and lasts longer. It’s a simple habit that really pays off in the long run!
Best Drying Techniques
Properly drying your Dyson vacuum parts is essential to maintain their performance and longevity. To dry completely, place components in a well-ventilated area—ideally near a fan or open window—to speed up the drying process.
You can also use an air compressor outdoors for thorough drying, especially in hard-to-reach spots. Just be sure to avoid direct heat sources like hairdryers, as they can damage delicate parts.
Make sure you confirm full moisture removal before reassembling your vacuum. This helps prevent mold and motor damage.
Follow these proper drying techniques to keep your vacuum running smoothly.
| Drying Step | What to Do | Why It Matters |
|---|---|---|
| Well-ventilated area | Place parts near fan/open window | Speeds drying process |
| Air compressor | Blow out excess water | Ensures thorough drying |
| Avoid direct heat | Skip hairdryers/ovens | Protects components |
| Dry completely | Wait 24 hours minimum | Prevents mold & damage |
How to Clean the Exterior of Your Dyson Vacuum
Although cleaning the exterior of your Dyson vacuum might seem straightforward, taking care with the right materials guarantees it stays in top condition. Start by unplugging your vacuum to avoid any electrical risks.
Use a damp microfiber cloth to gently wipe the exterior casing, removing dust and dirt without scratching the surface. Avoid harsh chemicals, as they can damage the plastic and finish.
Pay special attention to buttons, switches, and vents, using a lightly damp cloth to clean these areas and maintain proper airflow. After cleaning, thoroughly dry the exterior with a soft cloth to prevent water spots or damage.
- Use a damp microfiber cloth for a gentle clean.
- Avoid harsh chemicals to protect the plastic casing.
- Unplug the vacuum before starting.
- Clean around buttons, switches, and vents carefully.
- Dry completely to prevent damage or spots.
This simple routine keeps your Dyson looking and working great.
How to Reassemble Your Dyson Vacuum Correctly
Before you start reassembling your Dyson vacuum, make sure every component is completely dry. This helps prevent mold growth and motor damage.
Verify that the filters and internal parts are dry before you put everything back. It’s a simple step that can save you from future problems.
When you reassemble, follow the manufacturer’s instructions carefully. Work in the reverse order of disassembly to keep things smooth.
Line up notches and clips precisely for a proper fit and secure attachment. Take your time snapping each part firmly into place.
Be cautious to avoid misaligned pieces because those can cause malfunctions or damage. Check every connection to make sure nothing is loose before moving on.
A well-reassembled vacuum will operate efficiently and last longer. If something doesn’t snap in easily, double-check the alignment and the manufacturer’s guidance.
Cleaning Dyson Wet Floor and Robot Vacuums
Once you’ve reassembled your Dyson vacuum correctly, it’s important to give special attention to cleaning your Dyson Wet Floor and Robot Vacuums. These models feature self-cleaning systems that activate during charging or after use to maintain hygiene.
To keep them running smoothly, you’ll want to regularly empty the dirty water tank and disassemble key parts for thorough cleaning.
Here’s how to care for your Dyson wet floor and robot vacuum:
- Empty and rinse the dirty water tank after each session to prevent limescale buildup.
- Remove and rinse the wet roller and brush bar with cold water; let them dry completely (at least 24 hours) before reassembling.
- Wipe external surfaces and sensors gently with a damp microfiber cloth—avoid sprays or liquids.
- For robot vacuums, clean the dock’s water tanks periodically.
- Guarantee all components are dry before reuse to protect filter maintenance and overall hygiene.
Following these steps helps your Dyson vacuum deliver maximum performance and longevity.
Regular Maintenance Tips to Extend Your Dyson Vacuum’s Life
To keep your Dyson vacuum running at peak performance, you should perform regular maintenance tasks such as cleaning filters, emptying the bin, and inspecting brush bars. Clean the filter at least once a month to maintain strong suction and prevent dust from recirculating.
Empty the bin whenever it reaches the MAX line to avoid overfilling, which can reduce performance. Regularly inspect and clean the brush bars, especially if you often vacuum pet hair, removing any tangled hair or debris to keep them spinning freely.
Don’t forget to wipe the external parts with a damp microfiber cloth to prevent dust buildup. After washing filters or any removable parts, make sure to dry components thoroughly before reassembling to prevent mold growth and motor damage.
Consistent maintenance like this extends your vacuum’s lifespan and guarantees it works efficiently every time you use it. Taking these simple steps keeps your Dyson in top shape without hassle.
Frequently Asked Questions
How Do I Take Apart My Dyson Vacuum to Clean It?
First, power off and unplug your Dyson. Press the red release button to detach the bin.
Then, use a coin to open the covers. Remove the filter and brush bar.
After that, clean everything thoroughly. Finally, reassemble all the parts carefully.
How to Run a Deep Clean Cycle in Dyson?
You turn off and fully charge your Dyson. Then, access the deep clean cycle via the LCD screen or MyDyson app.
Next, select “Deep Clean” and start the cycle. Just let it run and finish for a thorough self-cleaning. Easy!
How to Clean a Dyson Filter Quickly?
You can’t speed up cleaning a Dyson filter because it needs at least 24 hours to dry fully.
Rinse it under cold water, squeeze gently, then leave it in a warm spot before reinstalling for best results.
What Parts of My Dyson Vacuum Can I Wash?
You can wash only the filter and the fluffy brush bar of your Dyson vacuum. Rinse them under cold water, then let them dry completely before putting them back.
Avoid washing the cyclone, motor, or other parts. Those can get damaged if they get wet, so it’s best to keep them dry.
Conclusion
You’ve just unlocked the secret art of Dyson vacuum cleaning—because nothing says “thrilling weekend” like dismantling your vacuum to wash filters and brush bars. But hey, keeping your Dyson pristine means fewer dust bunnies plotting world domination under your sofa.
So, embrace the mess, wield your cleaning tools like a pro, and remember: a clean vacuum is your ticket to vacuuming glory (and slightly less sneezing). Regular maintenance not only extends the life of your Dyson but also boosts its suction power, making every cleaning session more effective.
Happy cleaning, warrior! With these easy steps, your Dyson vacuum will stay in top shape, ready to tackle dust and dirt whenever you need it.




2 Comments