How to Empty Shark Matrix Robot Vacuum in 10 Easy Steps
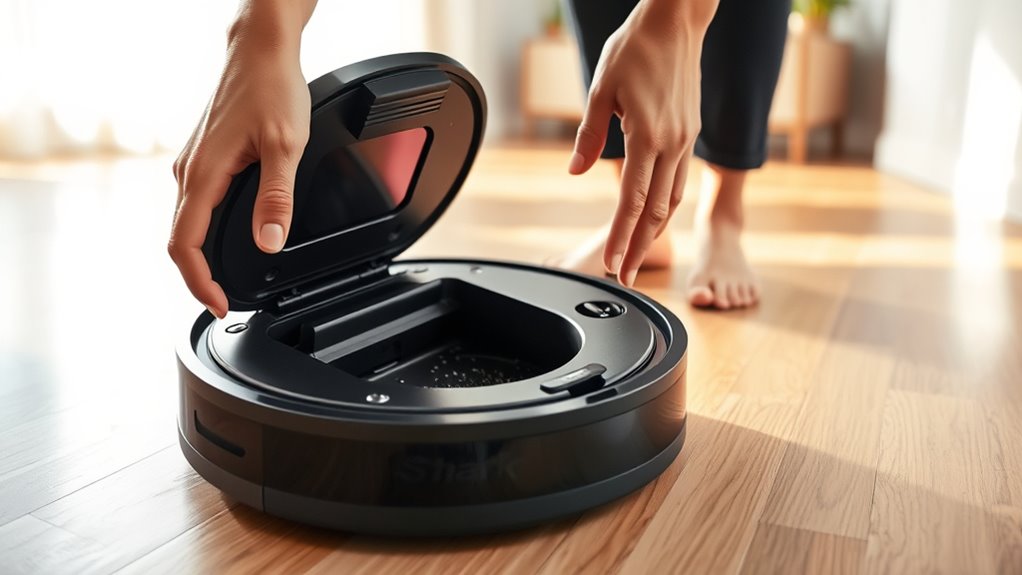
To empty your Shark Matrix Robot Vacuum in 10 easy steps, first locate and press the dust bin release button on the robot or charging base. This simple action will let you remove the dust bin without any hassle.
Gently slide the dust bin out, remove the lid, and dispose of the debris into the trash.
Wipe the bin if needed to keep it clean and odor-free. Then, securely close and reattach it until it clicks into place.
Make sure no dirt or debris blocks the latch for smooth removal next time.
Following these steps ensures your Shark Matrix Robot Vacuum stays efficient and runs smoothly. Keep going to discover tips for maintenance and troubleshooting. You’ll be a pro at handling your robot vacuum in no time!
Key Takeaways
- Press the dust bin release button on the robot’s top right or back to detach the dust bin safely. Gently slide the dust bin out without using excessive force to avoid spills.
- Next, remove the dust bin lid and empty the debris into a trash bin carefully. It’s best to do this slowly to keep everything neat.
- If you notice any dust left inside, wipe the inside of the dust bin with a damp cloth before closing it up.
- Finally, securely close the dust bin lid and reattach it to the robot. Make sure it clicks into place so it’s properly locked in.
Find the Dust Bin Release Button on Your Shark Matrix

Before you can empty your Shark Matrix robot vacuum, you’ll need to locate the Dust Bin Release Button. It’s conveniently placed on the top right side of the base.
First, find the Dust Bin Release Button on the top right of your Shark Matrix base.
This button is designed for easy access, making routine maintenance straightforward. When you press the release button, it unlocks the dust bin, letting it slide out smoothly without any struggle.
The secure attachment keeps the dust bin firmly in place while the vacuum works, which helps prevent accidental detachment. Using the release button correctly not only simplifies emptying but also protects both the dust bin and the vacuum itself from damage.
Keeping this part in good condition is key for efficient maintenance. So, before you start emptying, make sure you’re familiar with where the release button is and how it works. It’s your first step to hassle-free dust bin removal and ongoing care for your Shark Matrix robot vacuum.
How to Remove the Dust Bin From the Robot Vacuum
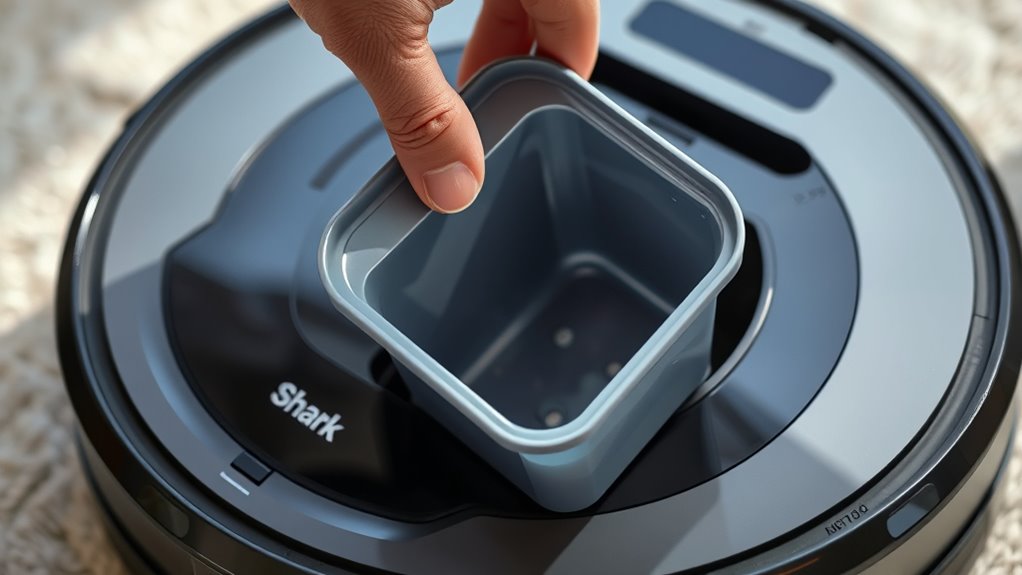
To remove the dust bin from your Shark Matrix, press the release button on the back of the robot. Then, slide the dust bin out carefully to avoid spills or damage.
This simple design makes maintenance quick and hassle-free. It’s really easy once you get the hang of it!
Locating Release Button
Although the release button for the dust bin is typically positioned on the top or back of the Shark Matrix robot vacuum, you’ll find it easily accessible without any tools. On this model, the button is located on the top side, designed for quick access.
When you press it, the dust bin latch releases, allowing the bin to slide out smoothly. This feature makes it simple to maintain your robot vacuum and helps guarantee the device can self-empty efficiently.
You won’t need any additional equipment or force—just press the button, then gently pull the dust bin out. Knowing exactly where to find this release button is key to hassle-free emptying and keeping your Shark Matrix running at its best.
Removing Dust Bin
Wondering how to remove the dust bin from your Shark Matrix robot vacuum? Start by making sure the robot is stationary and powered off if needed.
Then, press the release button located on the back of the robot. This button lets you detach the dust bin easily without any tools or excessive force.
Once you press it, slide the dust bin out gently to avoid spillage or damage. The design makes removal straightforward, so you won’t struggle with it.
After pulling the dust bin free, you can empty or clean it as needed. Following these simple steps helps keep your Shark Matrix vacuum performing at its best while making maintenance hassle-free.
Maintenance Convenience
When you need to clean your Shark Matrix robot vacuum, removing the dust bin is quick and hassle-free thanks to its user-friendly design. You don’t need any tools, and you can detach the dust bin whether the robot is docked or powered off, making maintenance super convenient.
Just press the release button on top of the robot to unlock the dust bin, then slide it out from the back. This simple process ensures you can easily dispose of debris and keep your vacuum running at peak performance.
Here’s how to remove the dust bin with ease:
- Press the release button located on top of the robot.
- Slide the dust bin out from the back smoothly.
- Empty the bin and reattach it securely before use.
How to Remove the Dust Bin From the Charging Base
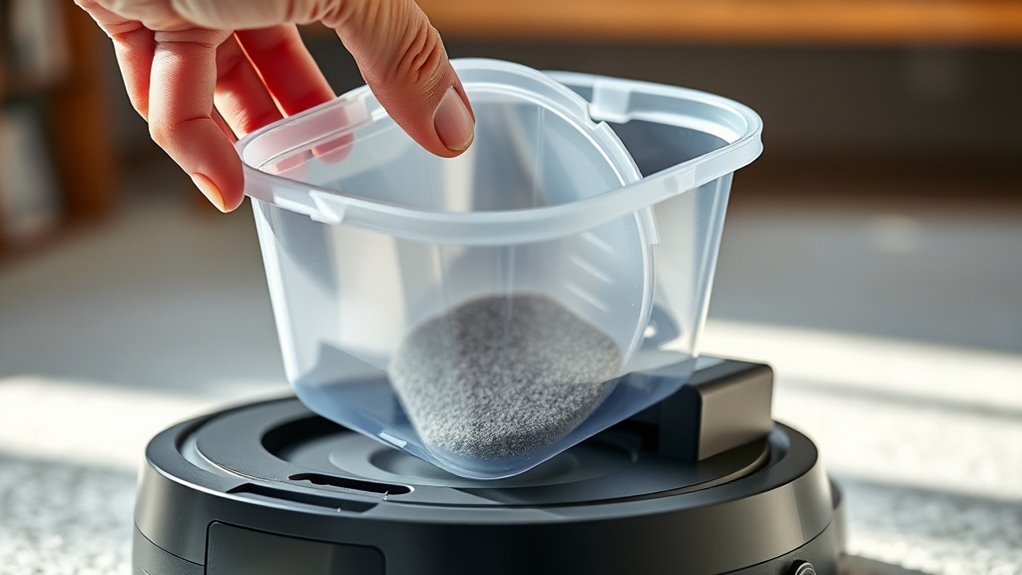
Before you can empty the dust bin, you need to remove it from the charging base by locating and pressing the dust bin release button on the top right. This button releases the dust bin so you can slide it out smoothly.
Press it firmly, then gently pull the dust bin straight out. Be careful as you slide it out to avoid spilling any debris. When handling the dust bin, grip it by the edges to keep dust from escaping and making a mess.
Once you’ve removed the dust bin, set it aside on a stable surface before proceeding to empty it. After you finish emptying and cleaning, reinsert the dust bin back into the charging base by sliding it in until you hear a click.
This ensures it’s securely in place. This process keeps your Shark Matrix ready for the next cleaning cycle and prevents dust from scattering around your home.
Emptying Debris From the Shark Matrix Dust Bin
After removing the dust bin from the charging base, the next step is to empty the debris collected inside. First, press the release button on top of the Shark Matrix robot vacuum to detach the dust bin.
After removing the dust bin, press the release button to detach and empty the debris inside.
Then, slide the dust bin out either from the robot or the base, depending on where you removed it from. Next, remove the dust bin’s lid to access the debris inside and carefully dispose of it into a trash bin.
To sum up, here’s what you need to do:
- Press the release button and slide the dust bin out.
- Remove the lid to access and empty the debris.
- Close the dust bin securely before reinserting it.
Make sure the dust bin is firmly closed before putting it back to maintain optimal vacuum performance. Regularly emptying the bin will help your Shark Matrix run efficiently every time.
Cleaning and Maintaining the Dust Bin for Best Performance
To keep your Shark Matrix running at peak efficiency, you’ll want to regularly clean and maintain the dust bin. Start by pressing the dust bin release button on the top or back of the robot to detach it carefully.
Slide the dust bin out gently, holding it securely to avoid any spillage. Empty all debris and dust into a trash bin, then wipe the inside of the dust bin with a damp cloth if needed to remove stubborn dirt.
Don’t forget to check and clean the filters and filter holders often, as this helps maintain strong suction and effective filtration. Once everything is clean and dry, reinsert the dust bin firmly into the robot or base.
Make sure it clicks into place to ensure proper operation. This simple routine keeps your Shark Matrix performing at its best and prolongs the life of your vacuum.
Maximize the Auto-Empty Function of Your Shark Matrix
When you dock your Shark Matrix on its compatible base, you can take full advantage of the auto-empty function. This feature markedly reduces how often you need to manually empty the dust bin.
To maximize this feature, start by making sure the robot is properly docked and charging on the base. The auto-empty system can hold debris for up to 60 days, so regular maintenance is key for peak performance.
Follow these steps:
- Press the dust bin release button on the top right of the base to release and slide out the bin when it’s time to empty.
- Clean the dust bin and filter regularly to prevent clogs and maintain suction power.
- Securely reattach the dust bin to the base after emptying to guarantee the auto-empty process works smoothly.
Troubleshoot Dust Bin Removal and Docking Problems
If you’re having trouble releasing the dust bin, make sure you’re pressing the release button properly. Try sliding the bin out smoothly—it should come out without much force.
Docking and charging issues often come down to dirty contacts or misaligned bins. So, take a close look at those and clean or adjust them if needed.
Also, double-check that your base is compatible with your Shark Matrix model. That way, you can avoid any connection problems.
Dust Bin Release Issues
How can you quickly resolve issues with removing the dust bin from your Shark Matrix robot vacuum? First, make sure you press the release button located on the top right of the base before sliding the bin out.
If it still won’t detach, inspect the dust bin and latch for dust or debris that may be causing it to stick. Gently clean these contact points to restore smooth removal.
Here’s a quick checklist to troubleshoot dust bin release issues:
- Press the release button firmly on the top right before sliding the dust bin out.
- Check for and remove any dust or debris around the latch and contact points.
- Confirm the dust bin is properly seated and clicked in after emptying to avoid future problems.
Docking And Charging Problems
After ensuring the dust bin releases smoothly, the next step is to address any docking and charging problems that might arise. First, make sure the dust bin is properly aligned and securely clicked into place. Misalignment can prevent automatic docking, so this part is pretty important.
Press the release button on the robot’s top or back to remove the dust bin before docking or charging. Check that the charging contacts on both the robot and base are clean and free of debris. Dirt can really mess with power transfer, so keep those contacts spotless.
Also, inspect the sensors and contacts for any obstructions. If the robot doesn’t dock automatically, try placing it on the base manually and see if it connects. And if it still won’t charge, go ahead and restart the robot, making sure everything is properly aligned and clean for the best performance.
Base Compatibility Challenges
Although base compatibility issues can be frustrating, ensuring your dust bin fits and locks correctly is key to smooth docking and removal. Start by checking that the dust bin release button on the base is fully pressed to disengage the bin.
Make sure the bin aligns properly and seats firmly. This prevents docking or removal problems. Also, inspect for debris around the bin and docking area that might block a secure fit.
Verify your dust bin matches the Shark Matrix base in size and locking type. If the robot doesn’t dock automatically, try placing it manually on the base to see if charging activates.
- Fully press the dust bin release button to remove the bin.
- Align and seat the dust bin correctly for proper docking.
- Clear any debris around the docking area to avoid obstructions.
Managing Replacement Parts for Your Shark Matrix
Because maintaining your Shark Matrix’s performance depends on properly fitting parts, you’ll want to guarantee every replacement includes all necessary components like filters, filter holders, and dust bins. When ordering parts, double-check that the dust bin size matches your robot’s base; an oversized bin won’t fit correctly and can cause issues.
If you receive missing or incorrect parts, contact Shark customer service promptly to get the right replacements. Always use the base charger designed for Shark IQ to assure proper charging during any part replacements or repairs.
Keep your purchase details and product information handy, as these will help you navigate support and warranty claims smoothly. Staying organized with your documentation and verifying compatibility will save you time and frustration, helping your Shark Matrix run efficiently with every replacement part you install.
Tips for Maintaining Brushes, Filters, and Accessories
You’ll want to clean the brushes regularly to keep hair and debris from slowing down your Shark Matrix.
Remember to replace filters every 1 to 3 months to maintain strong suction and air quality.
Don’t forget to check and clean all accessories after each use to guarantee everything works smoothly.
Brush Cleaning Tips
When you clean your Shark Matrix robot vacuum’s brushes regularly, you prevent hair and debris from building up and reducing its suction power. Keeping the brushes in good shape guarantees your vacuum works efficiently and lasts longer.
Here are three key brush cleaning tips:
- Remove the brushes after each use and carefully cut away tangled hair or fibers using a brush cleaning tool or scissors.
- Inspect the brushes for visible wear or damage, and replace them every few months to maintain peak cleaning performance.
- Clean the self-empty dust bin and filter area after each use to avoid clogs and keep airflow steady.
Following these steps keeps your Shark Matrix vacuum running smoothly without losing suction. It’s a simple routine that really makes a difference!
Filter Replacement Guide
To keep your Shark Matrix robot vacuum performing at its best, regularly replacing and cleaning the filters is essential. Remove the filters and gently clean them with a soft brush or cloth to clear dust and debris.
This helps maintain maximum suction and filtration. Replace the filters every 2-3 months or as Shark recommends to avoid clogging and keep the air exhaust clean.
Always check the filter holder and cover for damage or wear. Replace them if necessary to guarantee a proper fit.
Keep spare filters handy so you can swap them out quickly when the current ones get dirty or less effective. Following these steps will help your vacuum run efficiently and extend its lifespan.
Accessory Maintenance Essentials
Although regular use keeps your Shark Matrix vacuum busy, maintaining its brushes, filters, and accessories is key to consistent performance. Neglecting these components can reduce suction power and cleaning efficiency.
To keep your vacuum running smoothly, follow these essentials:
- Regularly remove and clean brushes to prevent hair and debris build-up, which can hinder performance. It’s a simple step that makes a big difference.
- Replace filters every 2-3 months or as recommended to maintain suction and air quality. Don’t wait too long—fresh filters keep things working great.
- Check and clean the dust bin and filter holder to avoid clogs and ensure efficient debris collection. Keeping these parts clear helps your vacuum do its job better.
Always inspect accessories for wear or damage, replacing them promptly. Use only recommended cleaning tools and solutions to protect your vacuum’s components and prolong accessory lifespan.
Following these tips helps your Shark Matrix vacuum perform at its best. It’s all about a little regular care to keep things running smoothly!
Ensure Secure Reattachment of the Dust Bin to Robot and Base
Securing the dust bin correctly to both the robot and its base guarantees your Shark Matrix vacuum operates smoothly without interruptions. Start by aligning the dust bin properly with the robot or base before pressing the release button. This ensures a snug fit and prevents misalignment that could cause operational issues.
Always press the release button fully until you hear or feel a click, confirming the dust bin is locked in place securely.
Check for any debris or obstructions around the attachment points before reattaching the dust bin. Even small particles can weaken the connection, causing the bin to detach mid-cleaning.
After reattachment, give the bin a gentle tug to verify it’s firmly in place. Periodically inspect both the dust bin and the connection points for any wear or damage.
Keeping these areas clean and intact maintains a proper seal, ensuring consistent performance and preventing dust from escaping during use. It’s a simple step that really makes a difference!
Frequently Asked Questions
How Do I Empty My Shark Matrix Robot Vacuum?
You press the release button on top, slide the dust bin out from the back, and empty it into the trash. Make sure to clear any blockages while you’re at it.
Then, just slide it back in until it clicks. Doing this regularly helps keep your vacuum working at its best.
How to Empty Shark Matrix 2 in 1 Youtube?
YouTube won’t magically suck out debris for you, but it’s packed with tutorials showing you how to press the release button, slide out the dust bin, and dump it—
making your Shark Matrix 2-in-1 ready for action again.
It’s pretty straightforward once you see it done. Just a quick empty and you’re good to go!
How Do I Empty the Canister on My Shark Vacuum?
You press the release button on top or back, then slide the dust bin out gently. Open the lid, empty the debris into the trash.
Close it securely, and reattach it to keep your vacuum working well. It’s pretty simple once you get the hang of it!
Why Is My Shark Dust Bin Not Emptying?
Your Shark dust bin isn’t emptying because it’s full, clogged, or not seated properly.
You’ll want to check the suction, clear blockages, and clean filters. Also, make sure the base’s auto-empty mechanism is working smoothly.
Conclusion
Emptying your Shark Matrix robot vacuum regularly keeps it running at peak performance—did you know a full dust bin can reduce suction by up to 50%?
By following these simple steps, you’ll avoid clogging and extend your vacuum’s lifespan. Remember to clean the dust bin and filters often, and check for any docking issues.
With proper care, your Shark Matrix will keep your home spotless effortlessly. Keep it clean, and it’ll keep working hard for you! Taking just a few minutes to empty and maintain your Shark Matrix not only improves its suction power but also helps prevent damage and costly repairs. So, make it a habit to check the dust bin and filters regularly, and enjoy a cleaner home with less effort. Your Shark Matrix robot vacuum is a smart investment—treat it well, and it will keep your floors sparkling every day!