
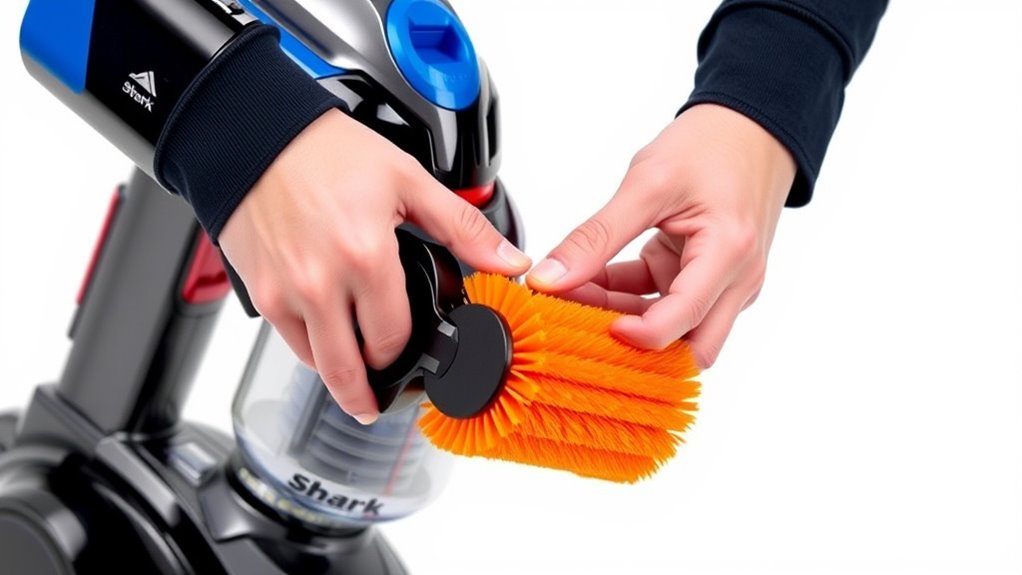
How to Remove Roller Brush From Shark Lift-Away Vacuum in 5 Easy Steps
To remove the roller brush from your Shark Lift-Away vacuum, first make sure to unplug the vacuum for safety.
You’ll need a T10 or T15 Torx bit to get started. These tools will help you remove the screws holding everything in place.
Next, take off the small roller wheels by removing the screws and gently prying them off. Be careful here so you don’t damage anything.
After that, loosen the screws on the motorized brush cover and disconnect the brush itself.
Now, carefully lift the roller brush off the belt and pulley.
Take note of the black square ends — you’ll want to remember how they fit for when you put everything back together.
Finally, align all the parts properly and secure them with the screws.
Keep reading for some detailed tips that make each step easier!
Key Takeaways
- Unplug the vacuum first and grab a T10 or T15 Torx bit to safely start taking it apart.
- Next, take out the screws holding the small roller wheels in place. Use a flat blade screwdriver to gently pry the wheels off without damaging anything.
- Now, unscrew and remove the cover by loosening the screws near the wheels. Once that’s done, disconnect the motorized brush carefully.
- Lift the roller brush off the belt and pulley with care. Keep an eye on the alignment of the black square ends so you can put it back correctly.
- When reinstalling, make sure the roller brush ends fit into the slots just right. Also, double-check that the belt teeth mesh properly before you secure the cover and wheels again.
Gather Tools and Unplug the Vacuum
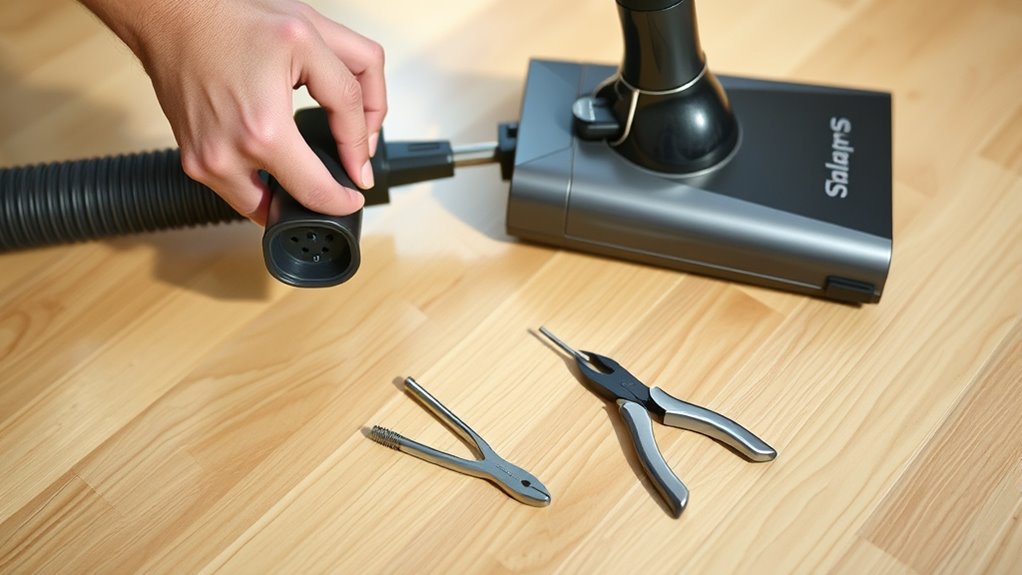
Before you begin removing the roller brush, make sure you unplug the Shark Lift-Away vacuum from the power outlet. It’s a good idea to verify the vacuum is completely powered off to prevent any accidental activation while you work.
Unplugging the vacuum not only keeps you safe from electrical shocks but also protects the vacuum’s electronic components from damage. When disconnecting the plug, handle both the plug and cord carefully to avoid any wear or damage that could affect future use.
Gathering the right tools beforehand is also a good idea so you don’t have to stop midway. Having everything ready ensures a smooth process once you start removing the roller brush.
Prioritizing safety by unplugging the vacuum before any disassembly is essential. This simple step reduces risks and sets you up for an efficient and trouble-free maintenance task.
Remove Screws and Pry Off Small Roller Wheels
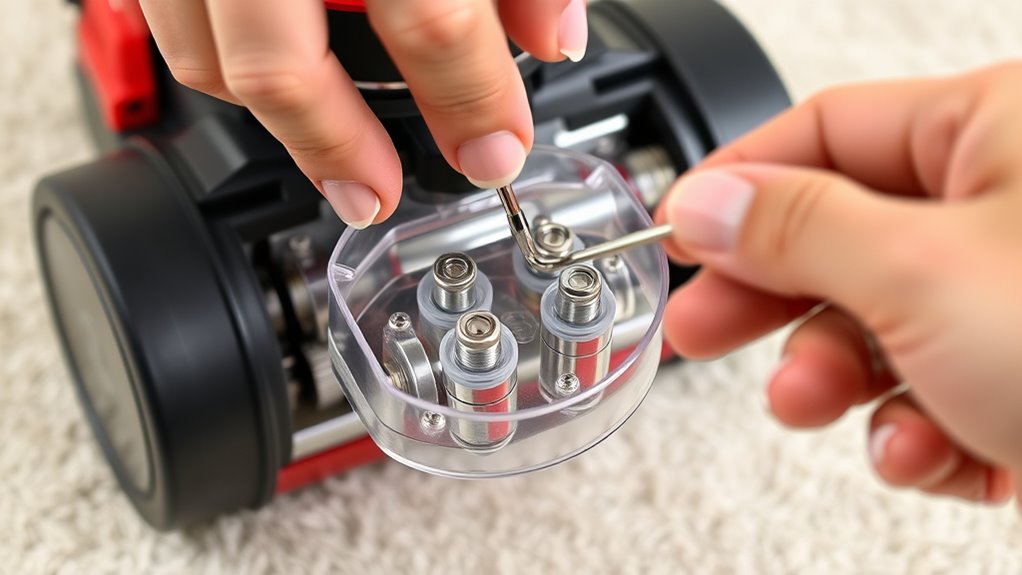
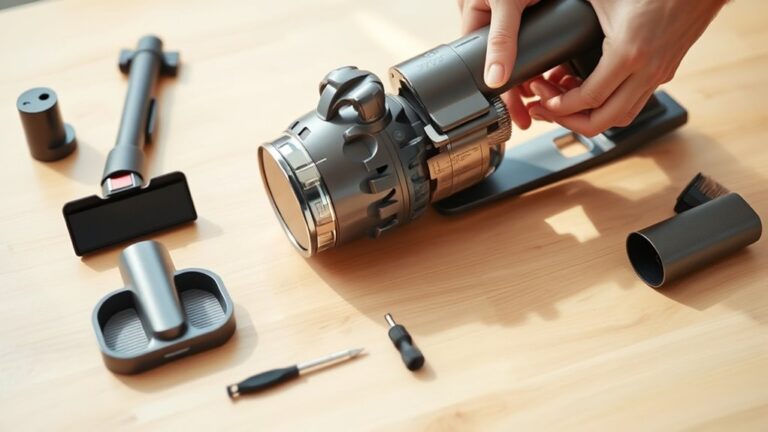
Once you’ve confirmed the vacuum is unplugged, grab a T10 or T15 Torx security bit to remove the screws securing the small roller wheels. Carefully remove any screws or clips holding the wheels in place.
Next, use a flat blade screwdriver to gently pry off the small roller wheels—apply just enough force to avoid damaging the components. Before you start, verify the wheels are free from obstructions and take note of their placement and orientation to simplify reinstallation.
| Step | Tool Needed | Key Tip |
|---|---|---|
| Remove screws | T10 or T15 Torx bit | Keep screws organized |
| Check for clips | None | Remove carefully |
| Pry off wheels | Flat blade screwdriver | Apply gentle, even pressure |
| Note wheel position | None | Photograph for reference |
Detach the Motorized Brush and Remove the Cover
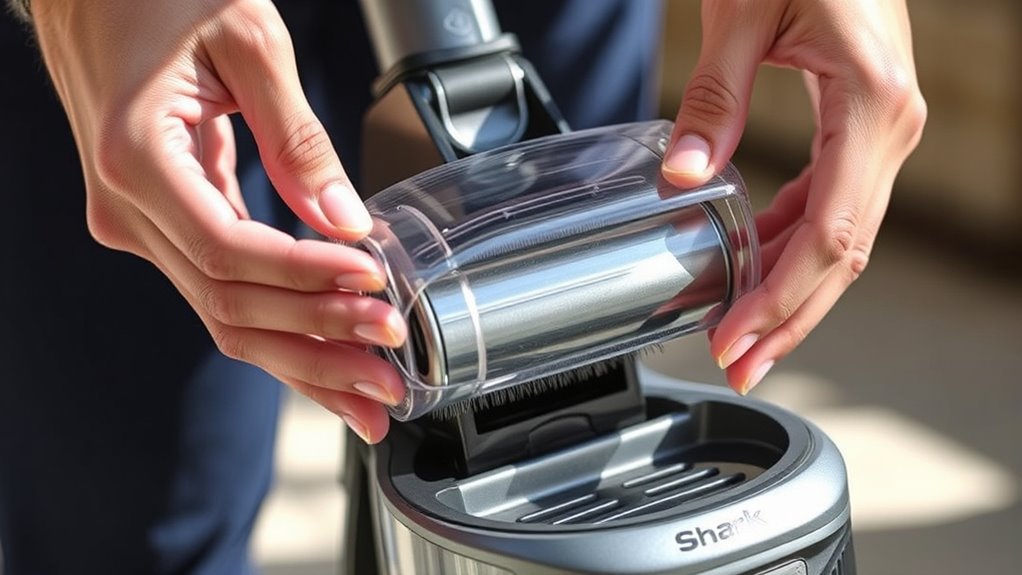
Although the motorized brush is securely attached to the vacuum body, you can detach it by first disconnecting it from the main unit. Start by removing two small screws near the rear wheels using a T10 or T15 Torx security bit.
Next, take out the two large screws located behind the rear wheels; this will help in loosening the cover. Don’t forget the four visible screws on the cover and the two hidden screws beneath the small front roller wheels—they all need to come off to free the cover.
Once all screws are removed, carefully pry off the cover with a flat blade screwdriver. Doing this will expose the motorized brush, allowing you to proceed with its removal.
Handle the cover gently to avoid damaging any clips or plastic components. By following these steps, you’ll successfully detach the motorized brush and remove the cover, setting the stage for the next step in your maintenance or repair process.
Remove the Roller Brush From Belt and Pulley
After you’ve carefully removed the cover and detached the motorized brush, focus on lifting the roller brush off the belt and pulley. First, make certain the motorized brush is upright so you have clear access.
Start by removing the cover and motorized brush, then lift the roller brush off the belt and pulley carefully.
Gently disengage the roller brush from the belt teeth and pulley wheel by applying upward force. Be careful not to pull too hard to avoid damaging the belt or misaligning the teeth.
Check that the belt’s teeth remain properly meshed with the pulley wheel as you lift the brush off. This helps prevent the belt from slipping out of place.
When you remove the roller brush, note the position of the black square ends. These need to align perfectly with the slots during reinstallation.
Taking these steps guarantees the belt stays seated on the pulley and the roller brush fits securely when you’re ready to put everything back together.
Reinstall the Roller Brush and Secure Components
Before pushing the roller brush back into the motorized brush housing, make sure you align the black square ends with their matching slots. This helps guarantee a secure fit.
Next, confirm the belt teeth mesh properly with the pulley wheel teeth to maintain correct drive function. Carefully slide the roller brush into place, checking that the belt stays engaged.
Then, reposition the cover over the brush roll and snap all clips or tabs securely. Replace all screws, tightening them evenly using a drill set to a low clutch setting—this helps avoid cracking the plastic.
Double-check that the small roller wheels snap back into their positions. Finally, verify that the wiring is clear of any pinch points before completing the reassembly.
Taking these steps ensures your Shark Lift-Away vacuum’s roller brush operates smoothly and stays securely in place, preventing damage and keeping your cleaning performance at its best.
Frequently Asked Questions
How Do You Take the Rollers Out of a Shark Vacuum Cleaner?
You disconnect the vacuum, remove screws with Torx bits, and carefully pry off small wheels. Then, lift the roller brush straight out, noting the belt’s placement for reassembly.
Make sure to check the belt alignment before reinserting everything securely. It’s a good idea to take your time so nothing gets damaged.
How to Detach Shark Vacuum Head?
To detach your Shark vacuum head, press the release button or lever near the base. Then, gently pull the head away from the main body.
Just make sure the vacuum is turned off and unplugged before you start. Safety first!
How Do I Remove the Brush Roller From My Vacuum?
You’ll first unplug your vacuum and detach the floor brush. Then, remove screws with a Torx bit.
Next, pry off the wheels carefully. After that, lift the brush roller to slip it from the belt, and take it out.
It’s not too tricky once you get the hang of it! Just take your time with each step.
How Do I Take Apart My Shark Vacuum to Clean It?
Did you know 70% of vacuum issues stem from clogged brushes? You’ll detach screws with Torx bits, carefully lift the brush cover, and remove the roller using a flat screwdriver.
Then, just reassemble everything, making sure the wires aren’t pinched. It’s pretty straightforward once you get the hang of it!
Conclusion
Congrats, you’ve just become the proud owner of a roller brush removal degree—no cap and gown needed! Who knew taking apart your Shark Lift-Away vacuum could be so thrilling?
Now that you’ve conquered screws, wheels, and belts like a pro, your vacuum’s ready to suck up dirt with renewed vigor.
So go ahead, show off your skills, and maybe even impress your friends—because nothing says “party” like a freshly cleaned roller brush!
Removing the roller brush from your Shark Lift-Away vacuum is easier than you think. With just a few simple steps, you’ve made maintenance a breeze, ensuring your vacuum performs at its best. Keeping that roller brush clean not only boosts suction power but also extends the life of your vacuum.
So, next time your Shark Lift-Away isn’t picking up dirt as well as it used to, you know exactly what to do!




2 Comments